This quick pro-tip article will show you the easiest and most efficient way to sync your local development WordPress database to any production/staging environment.
Yes, managed WordPress hosting providers like WPEngine and Flywheel offer you tools to do the sync even faster and easier, but in the example below, I will show how you can do it with any host.
The only requirement is to have SSH access to your server.
Nowadays, most hosting providers offer this, and you can set it up very easily if your host uses cPanel.
Download and Install NGROK
Before we do anything else, you need to Download and Sign Up for ngrok (you don’t need to open a paid account)
Once you install and sign up for a free account, open your terminal or command prompt in Windows.
Run the following commands to authenticate and open port 3306:
$ ngrok authtoken
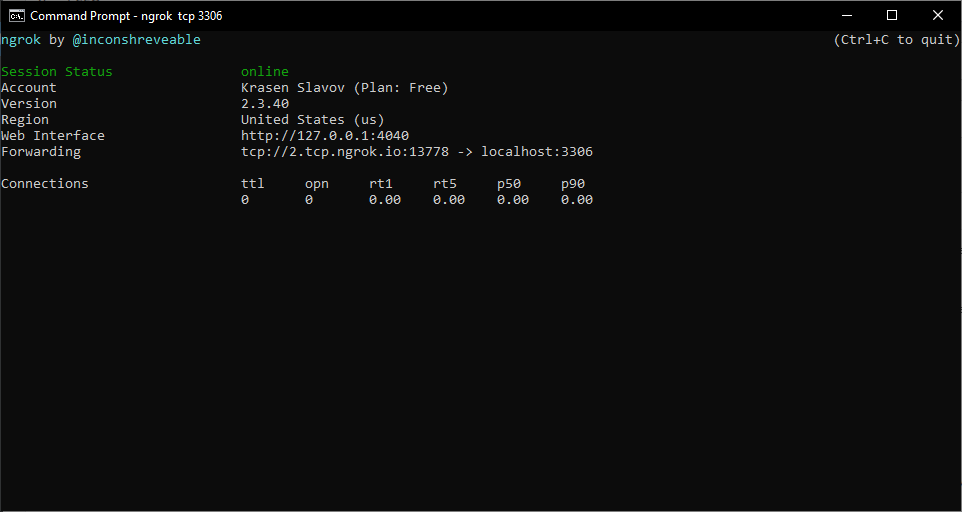
$ ngrok tcp 3306
This will open a tunnel between your localhost via port 3306 (the default port for MySQL/MariaDB).

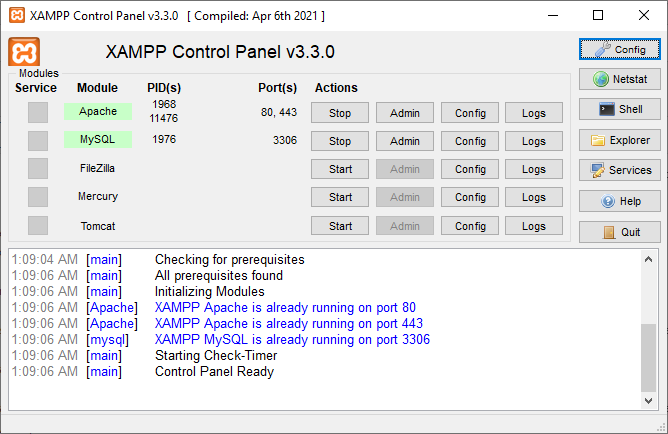
You need to verify with your local setup and change the port accordingly. Also, be sure that your OS firewall doesn’t block this port.
Copy or remember the Forward TCP:// URL with the port at the end.
Sync Your Database
Before you open an SSH connection, you need to find your localhost and server database credentials.
Next, go to your server home and create a new directory named. db_backups.
$ cd ~/
$ mkdir db_backups
$ cd db_backups
Then use the tunnel and local data to export and download your local database onto your server. mysqldump(which should be available 99% of the time).
$ mysqldump -h 0.tcp.ngrook.io -P 19239 -u username -p database_local_name > "database-local-2022-02-22.sql"
password:
You need to enter your local MySQL password, depending on the size of your database. You may need to wait a bit.
Before we import the downloaded database, we need to update the URLs.

The way I do it is: if I have a project for domain.com then for the local development, I set up domain.local a Virtual Hosts.
So, to replace the URLs from my local to production or staging, I use sed (which should also be available 99% of the time on your server).
sed -e "s/domain.local/domain.com/g" "database-local-2022-02-22.sql" > "database-production-2022-01-22.sql"
Once you update all the URLs, you can import/overwrite the database tables. mysql.
$ mysql -u username -p database_production_name < database-production-2022-01-22.sql
password:
You will be prompted for a password, and then if you don’t get any errors, you will have your local development database transferred to your server.
What’s Next
You can automate the above process, create shell script files, and register a paid ngrok account. This way, your tunnel URL and PORT will be the same for each sync.
‘Til the next time.


