


This quick article will show you how to set up a GIT version control and host your code on GitHub on a plain shared hosting.
For this article, I will use the cheapest hosting package offered by Hostgator, but following the method and steps below, you can do that on any hosting provider that meets the prerequisites.
The Prerequisites
To be able to follow this article and set up GIT & GitHub on shared hosting, you need to have met the following prerequisites:
- SSH Access to you server (this should be allowed on most major hosting providers even within their cheapest package)
- Terminal Access (via cPanel) or you know how to work and configure PuTTY & PuTTYGen with SSH (Hostgator e.g. can be found here SSH Keying through PuTTY on Windows or Linux).
- GitHub Account (of course, setup a private repo if you don’t want the world to see it)

Generate SSH Keys (at your Shared Hosting)
First, we need to generate our SSH keys on your server. To do that on Hostgator, you need to follow the three steps below:
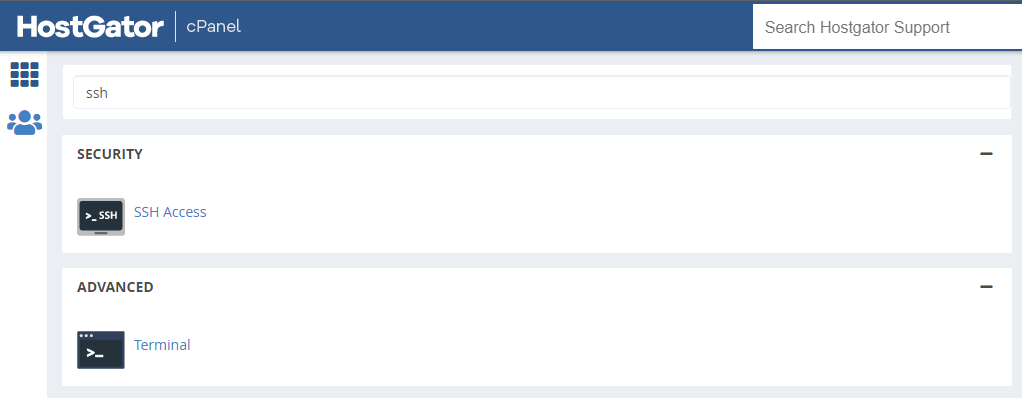
- Log in to your cPanel and search for
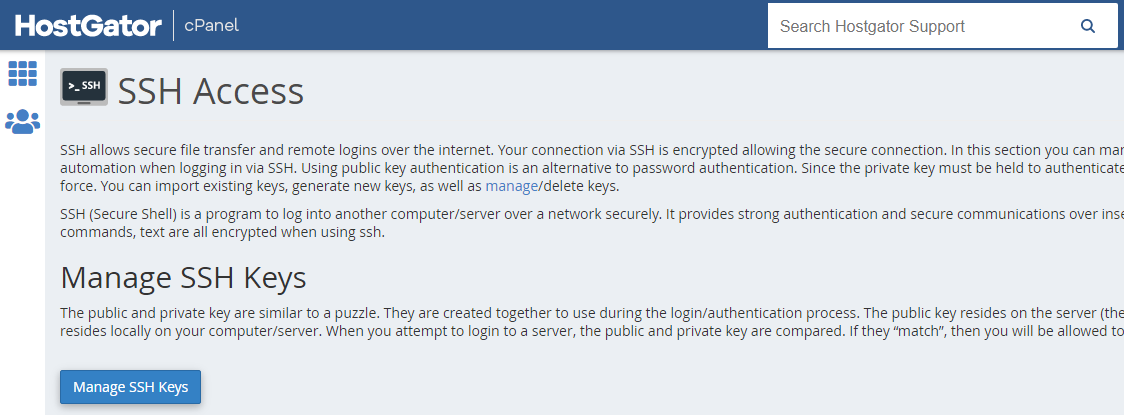
ssh, if you have access you should see SSH and Terminal results. - Click on
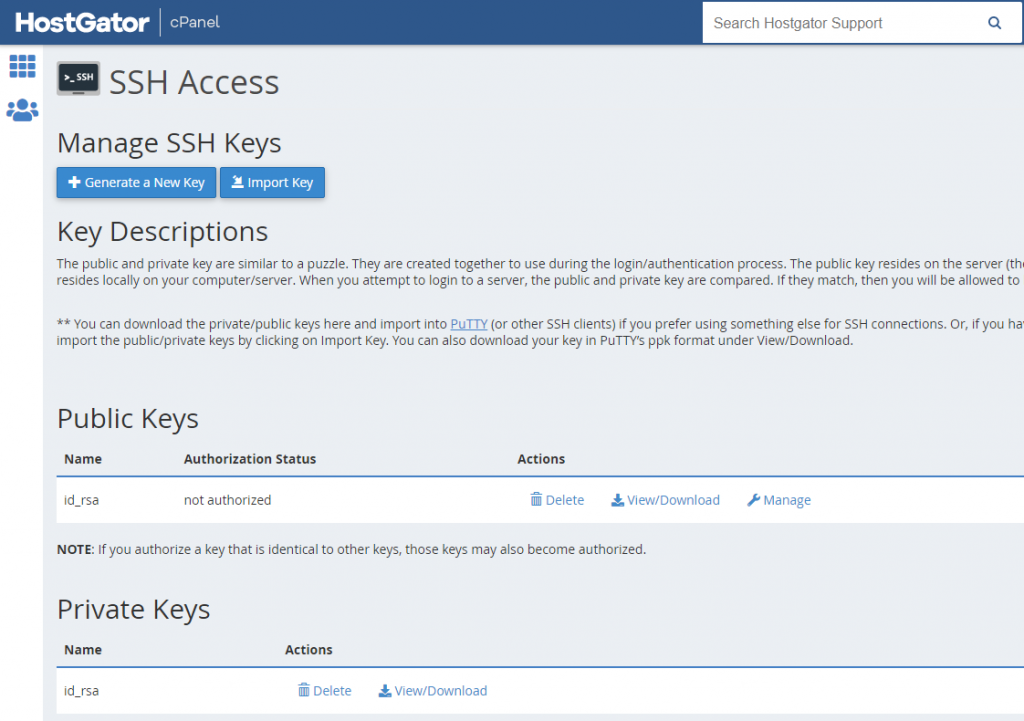
SSH Access > Managed SSH Keys > Generate a New Key. You will be prompted to add a secure password (which you will need later on when you clone your GitHub repo on the shared hosting) - After you created the SSH Keys, click on View/Download your Public Key, and save it on your computer.
Add SSH Keys (to GitHub)
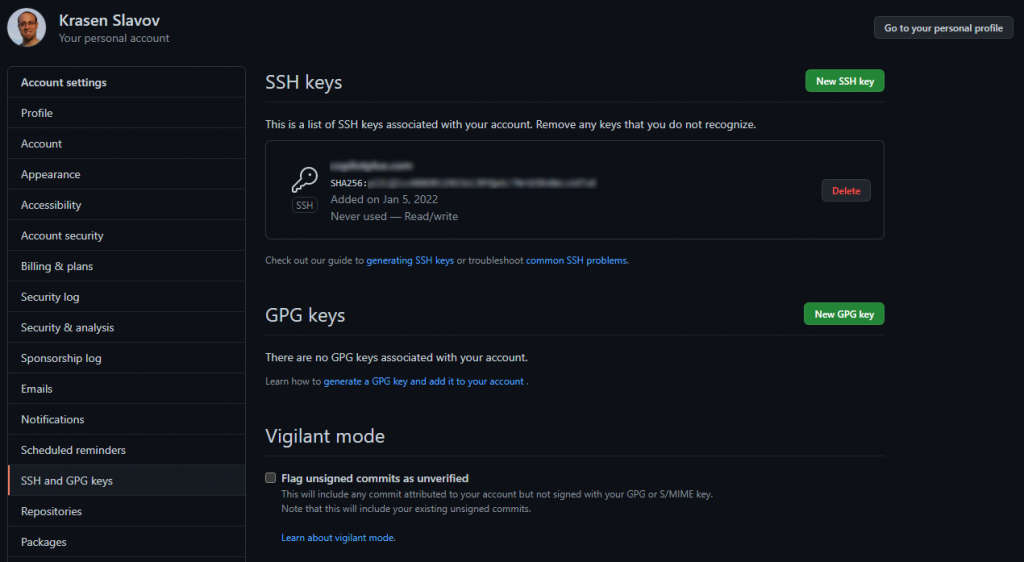
The next step will be to add the Public Key you generated within your GitHub account.
- Log in to your GitHub, click on your profile image in the top bar and go to
Settings > SSH and GPG keys - Click on the
New SSH Keybutton and paste the Public Key you saved on your computer.
Test Your SSH Keys
You can easily test if you have done everything correctly by going to the Terminal Access within your cPanel (or login with PuTTY via SSH to your server)
After typing, $ ssh -T git@github.com you will be prompted:
> The authenticity of host 'github.com (IP ADDRESS)' can't be established.
> RSA key fingerprint is SHA256:nThbg6kXUpJWGl7E1IGOCspRomTxdCARLviKw6E5SY8.
> Are you sure you want to continue connecting (yes/no)?
After typing yes and entering the password you earlier added for your SSH Keys, you will then be prompted:
> Hi username! You've successfully authenticated, but GitHub does not
> provide shell access.
Clone GitHub Repo
At this point, you are all set, and you can proceed to clone, push and pull from any GitHub repository to your server.
You can do all your development work and testing locally, then push to GitHub and pull to the server, which will update with the latest changes.
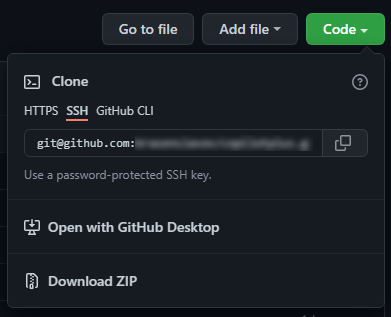
You need to remember to use the SSH URL for the repository and not the HTTPS one.
For example, $ git clone https://github.com/username/repository.git
What’s Next
As I mentioned several times before, once you set up your SSH key, you don’t need to log in to your cPanel to access the Terminal. All you need to do is set up PuTTY using the same Public SSH Key (see the link I have added inside the article above).
‘Til the next time.