In this tutorial, I will show you how to override a Gutenberg gallery block, extend, and display full-size images in a modal-type window.
In this quick tutorial, I will show you how to do that and also give you a practical example of how to extend the gallery block and display a larger image.
The end result will create Lightbox modal window functionality without the need for JavaScript. We will use the same technique I have described in one of my previous tutorials, using hidden checkboxes, 5 Popular Web Page Components Done with Pure CSS.
Are you intrigued? Let’s get started.
Override Gutenberg Block
The first thing we need to do is override and extend the existing gallery block. We need to tweak the HTML structure a bit and then, by using pure CS,S apply the modal open and close functionality.
I have tried to keep the structure of the block as close as possible to the original HTML, but you may notice that some of the items, like data-link and alt values, are missing. You can easily add these by yourself if you need them.
The HTML Structure
Before I show you the custom code, let us compare the HTML of the original block structure vs our new block (side by side).
Original Gutenberg Gallery Block (HTML)
<figure class="wp-block-gallery columns-3 is-cropped">
  <ul class="blocks-gallery-grid">
    <li class="blocks-gallery-item">
      <figure>
        <img />
      </figure>
   </li>
 </ul>
</figure>
New Gallery Block (HTML)
<figure class="wp-block-gallery columns-3">
  <ul class="blocks-gallery-grid">
    <li class="blocks-gallery-item">
      <figure>
        <input type="checkbox" name="" id="" />
        <div class="gallery-item-modal">
          <label for="">
            <img />
          </label>
        </div>
        <label for="">
          <img />
        </label>
      </figure>
   </li>
 </ul>
</figure>
As I said before, you see the 2 HTML structures are pretty much the same except for the additional checkbox and label HTML elements, which will be used to create the modal window functionality.
The PHP Code
Now we are ready and can take a look at the actual code we use to extend and override the gallery block. You can simply include this file/code in your theme’s functions.php. This will extend the register_block_type and override it during WordPress initialization.
Note: You may also want to add alt and data-link values, but for the purposes of this tutoria,l we don’t need them.
The CSS
Once we have our new HTML block structure, we are ready to load up the stylesheets. As I mentioned, in the beginning, we will use the hidden checkbox method to open and close a modal-type window with our full-size images.
Note: For this tutorial, the modal close action will happen when you click on the large image; however, you can do the same by adding a close (x) button icon or applying the closing effect when someone clicks on the transparent overlay background.
To load the CSS, you simply add the code below in the functions.php (Note: assuming the extend_gutenberg_gallery_block.css is created and located in the root of your theme directory structure)
add_action('wp_enqueue_scripts', function() {
  wp_enqueue_style('ctrls-base', get_template_directory_uri() . '/extend_gutenberg_gallery_block.css', array(), false, 'all');
}, 10, 1);
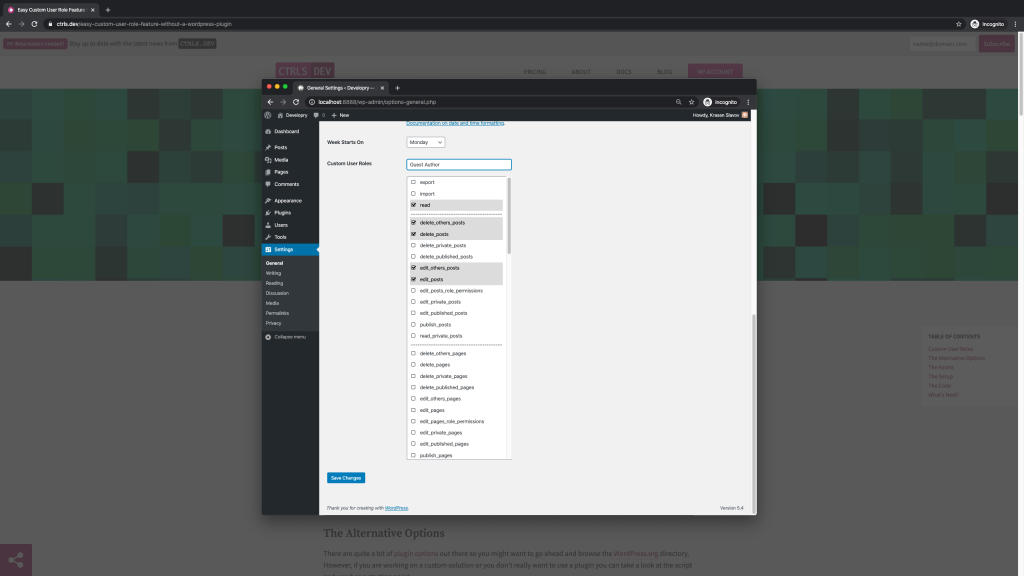
Here is what the end result looks like. Just go to Easy Custom User Role Feature Without a WordPress Plugin and see it in action.

Note: The same approach can be used to extend and overwrite any of the core/existing Gutenberg blocks.
What’s Next
Before I sign off, I want to give a shout-out to Antistatique, who gave me the idea for this tutorial. I already knew how to extend blocks, but haven’t used this method in an actual project up to this moment.
Moreover, to improve the modal window, you can add a close icon or even create a slider container where, with previous and next (arrow) actions, you can loop over all the images within the current gallery.
‘Till the next one.


