


Welcome back to another practical tutorial from the blog.
This time, I will guide you on using the CPT UI and Advanced Custom Fields plugins to create a CPT, Custom Fields Group, and set up and collect user-generated data with a front-end form linked to both the CPT UI and ACF.
Are we ready to code? Let’s get started.
The Setup
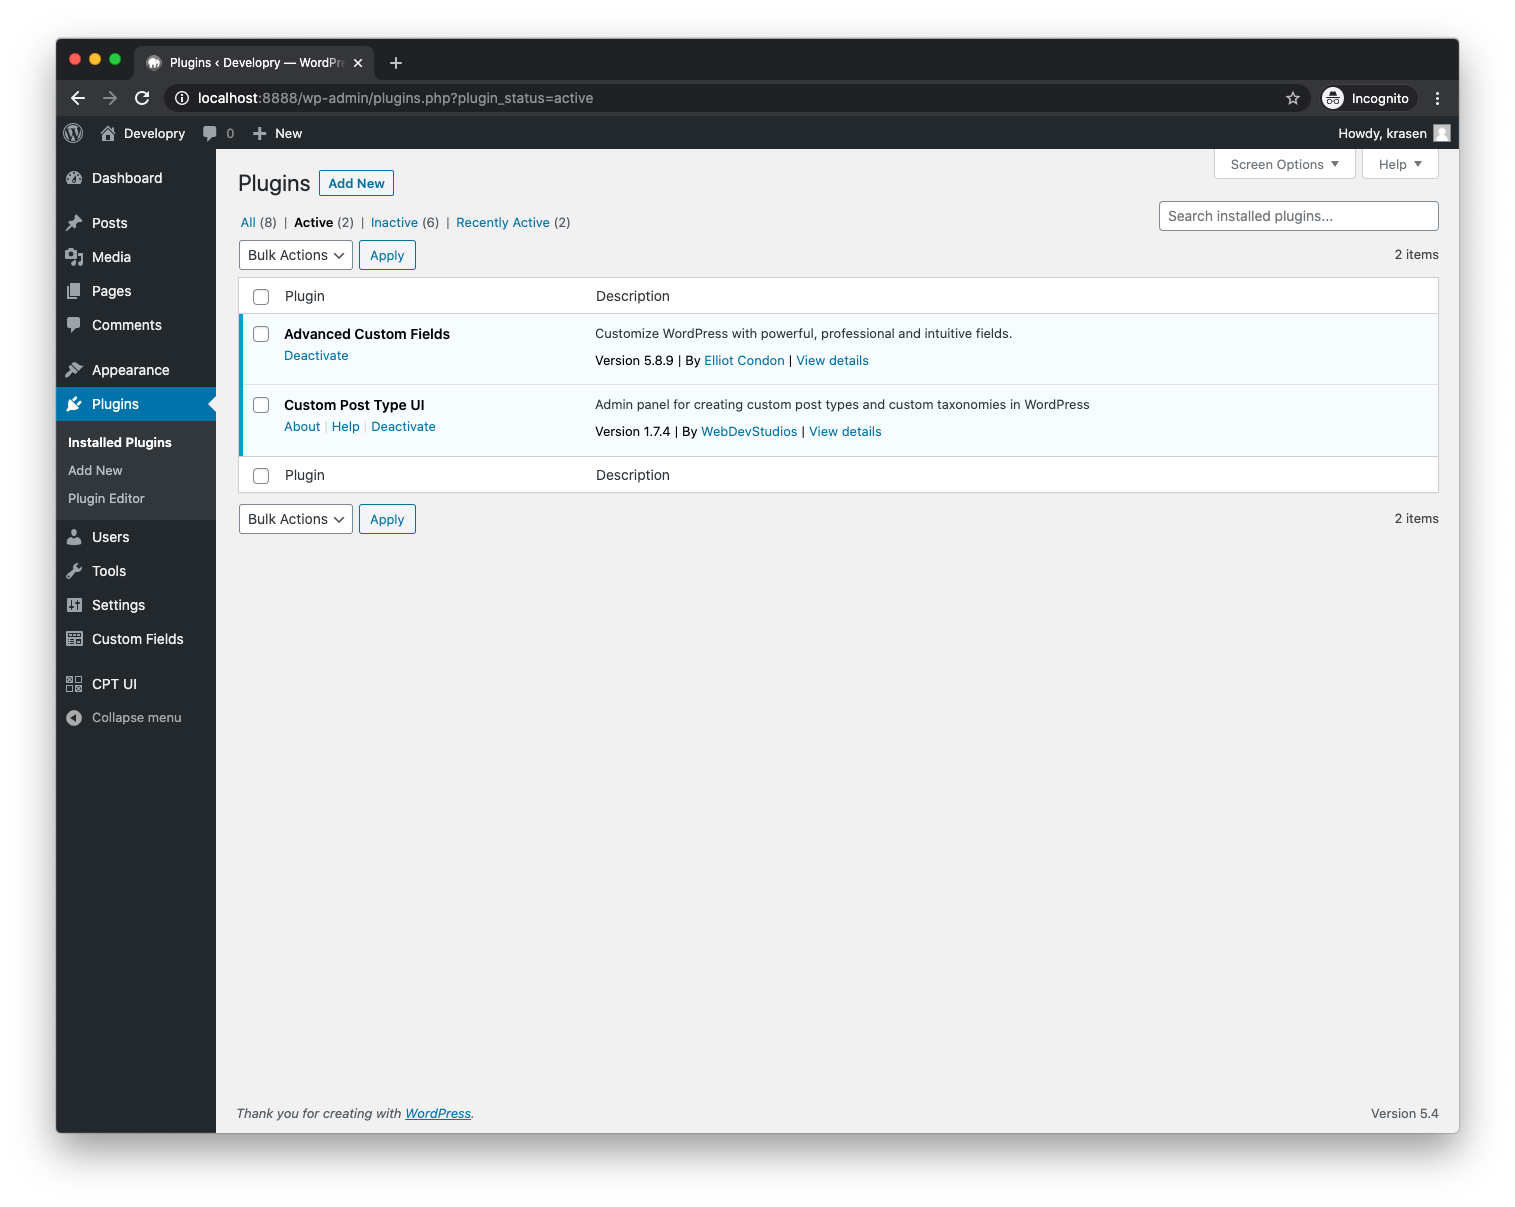
First, we need to install and activate both CPT UI and Advanced Custom Fields plugins. The free versions are sufficient for this tutorial; however, if you want to have the full capability for each plugin, you might want to look at their PRO versions.
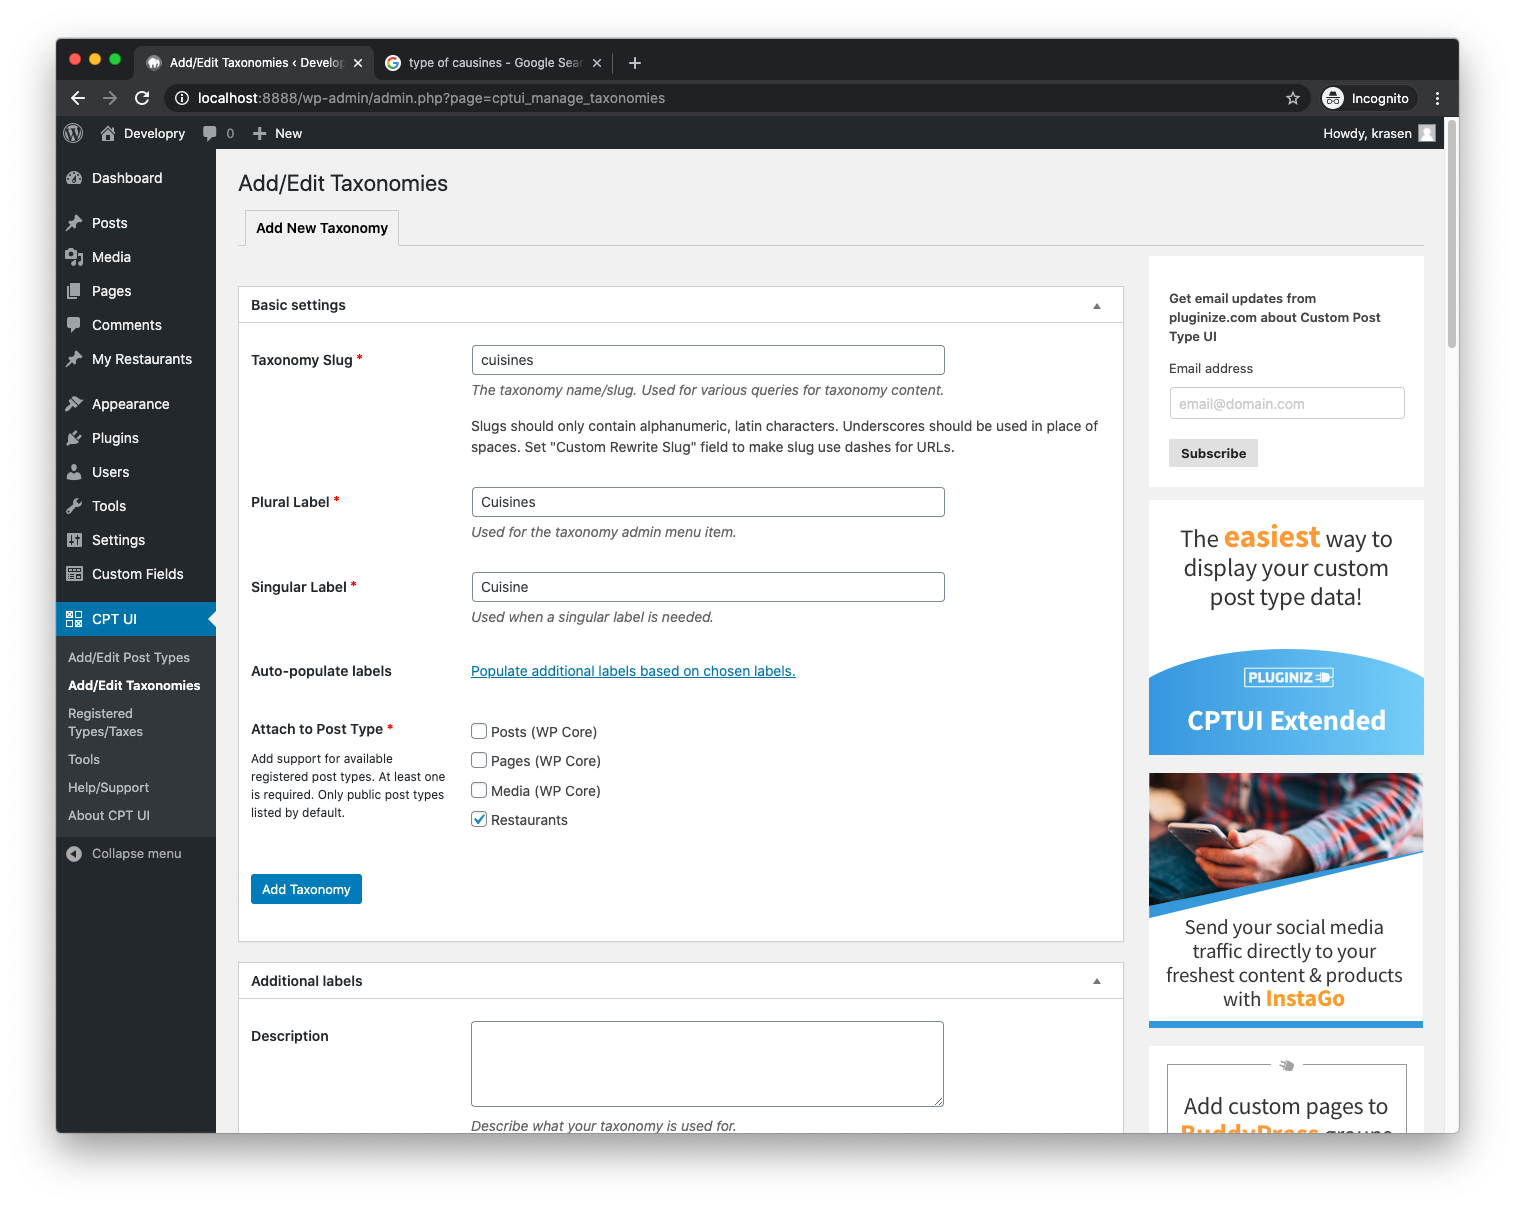
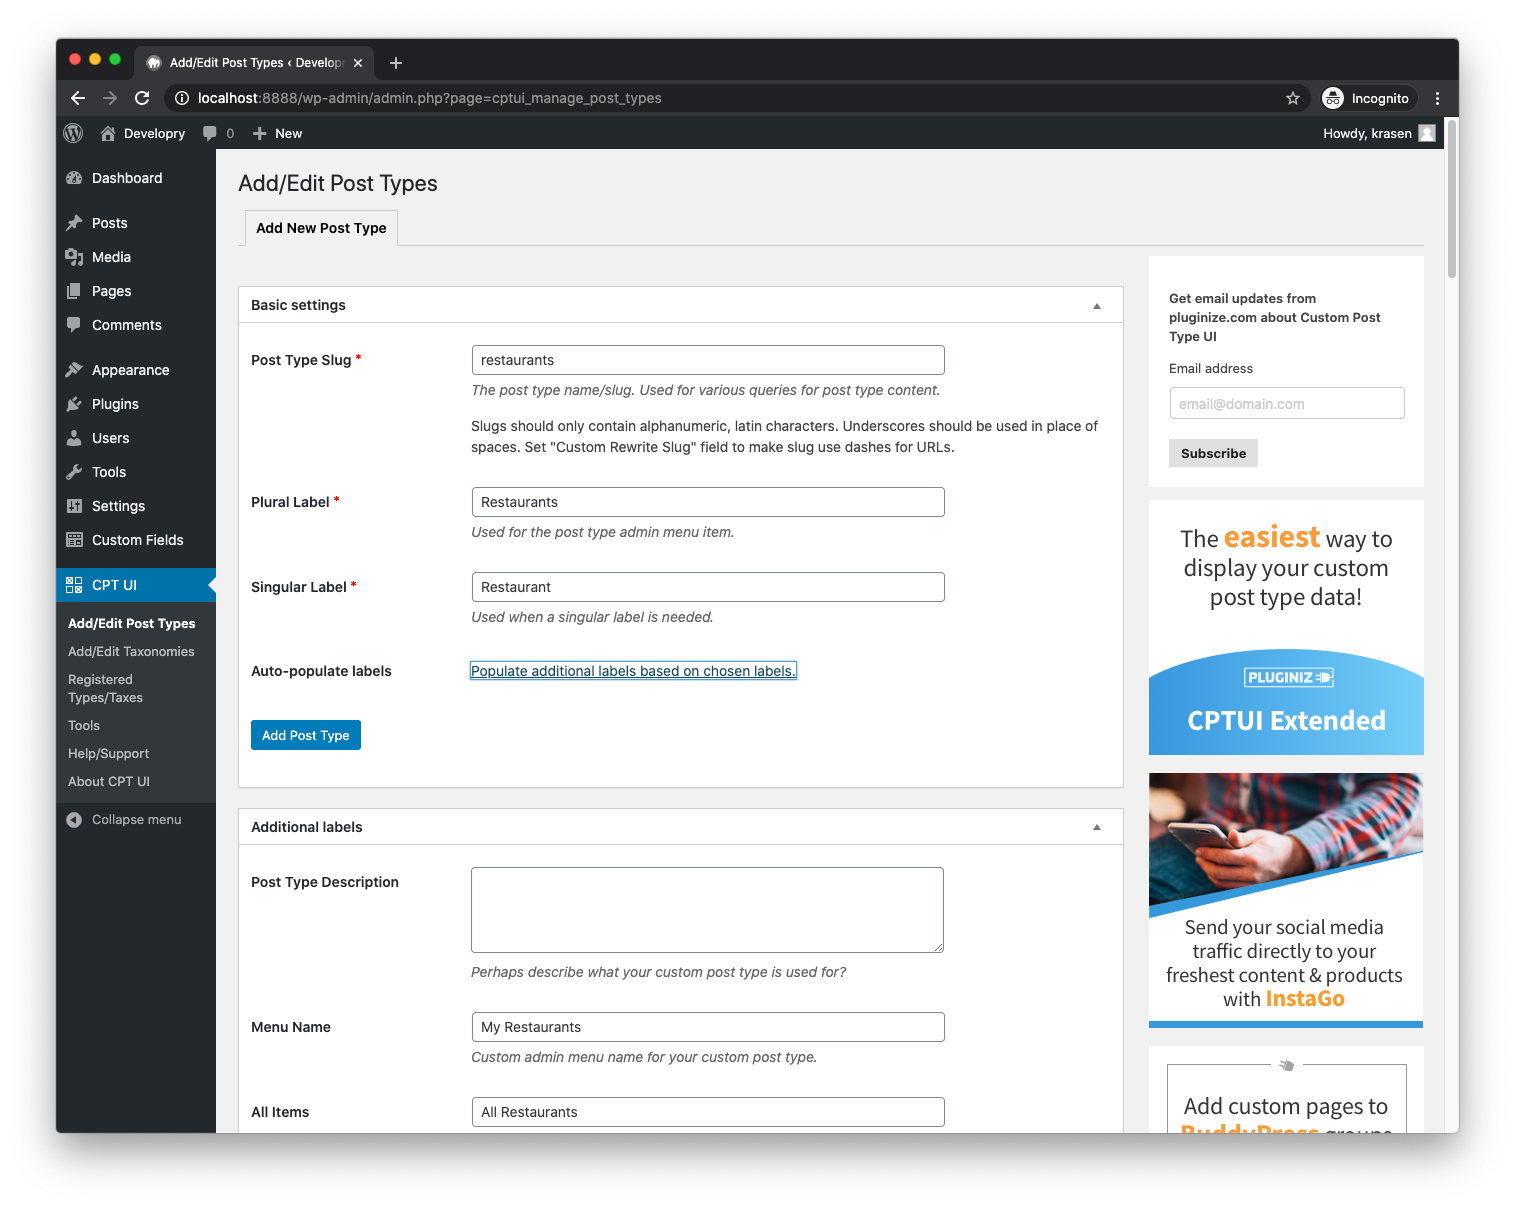
So, in the first two screenshots (2-3), we create a CPT called Restaurants with a taxonomy for our categories Cuisine.
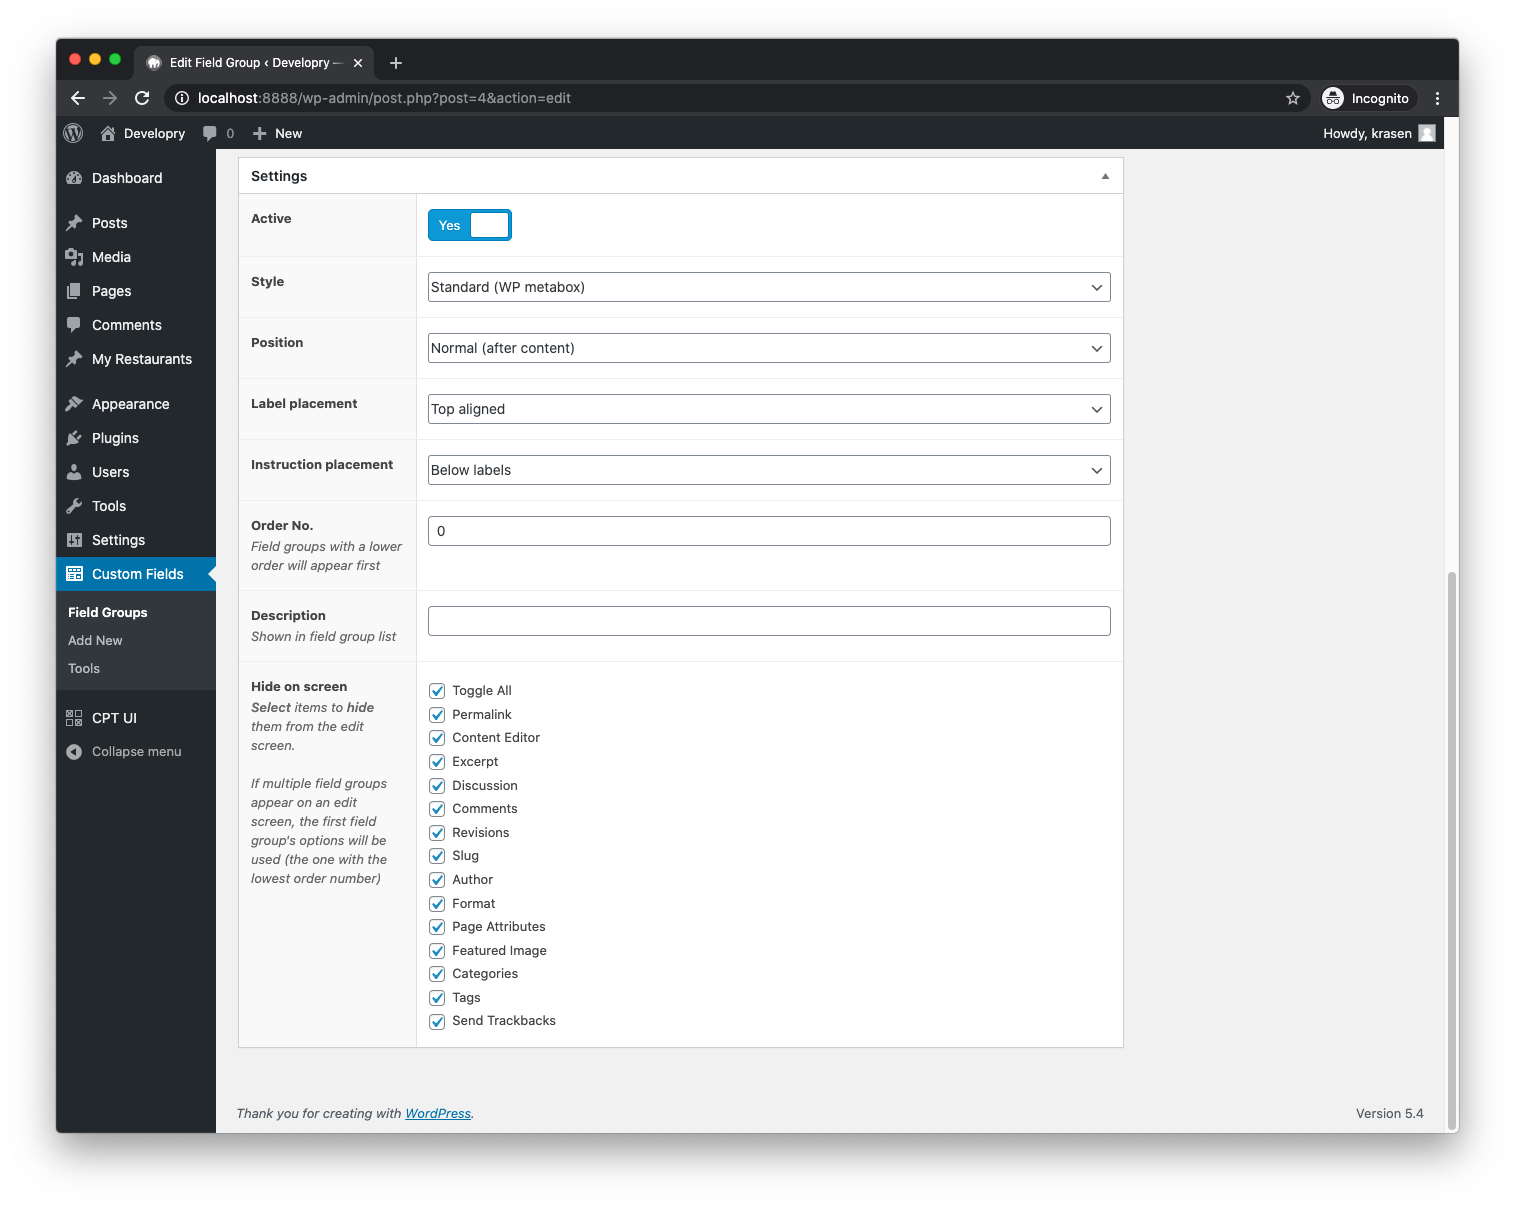
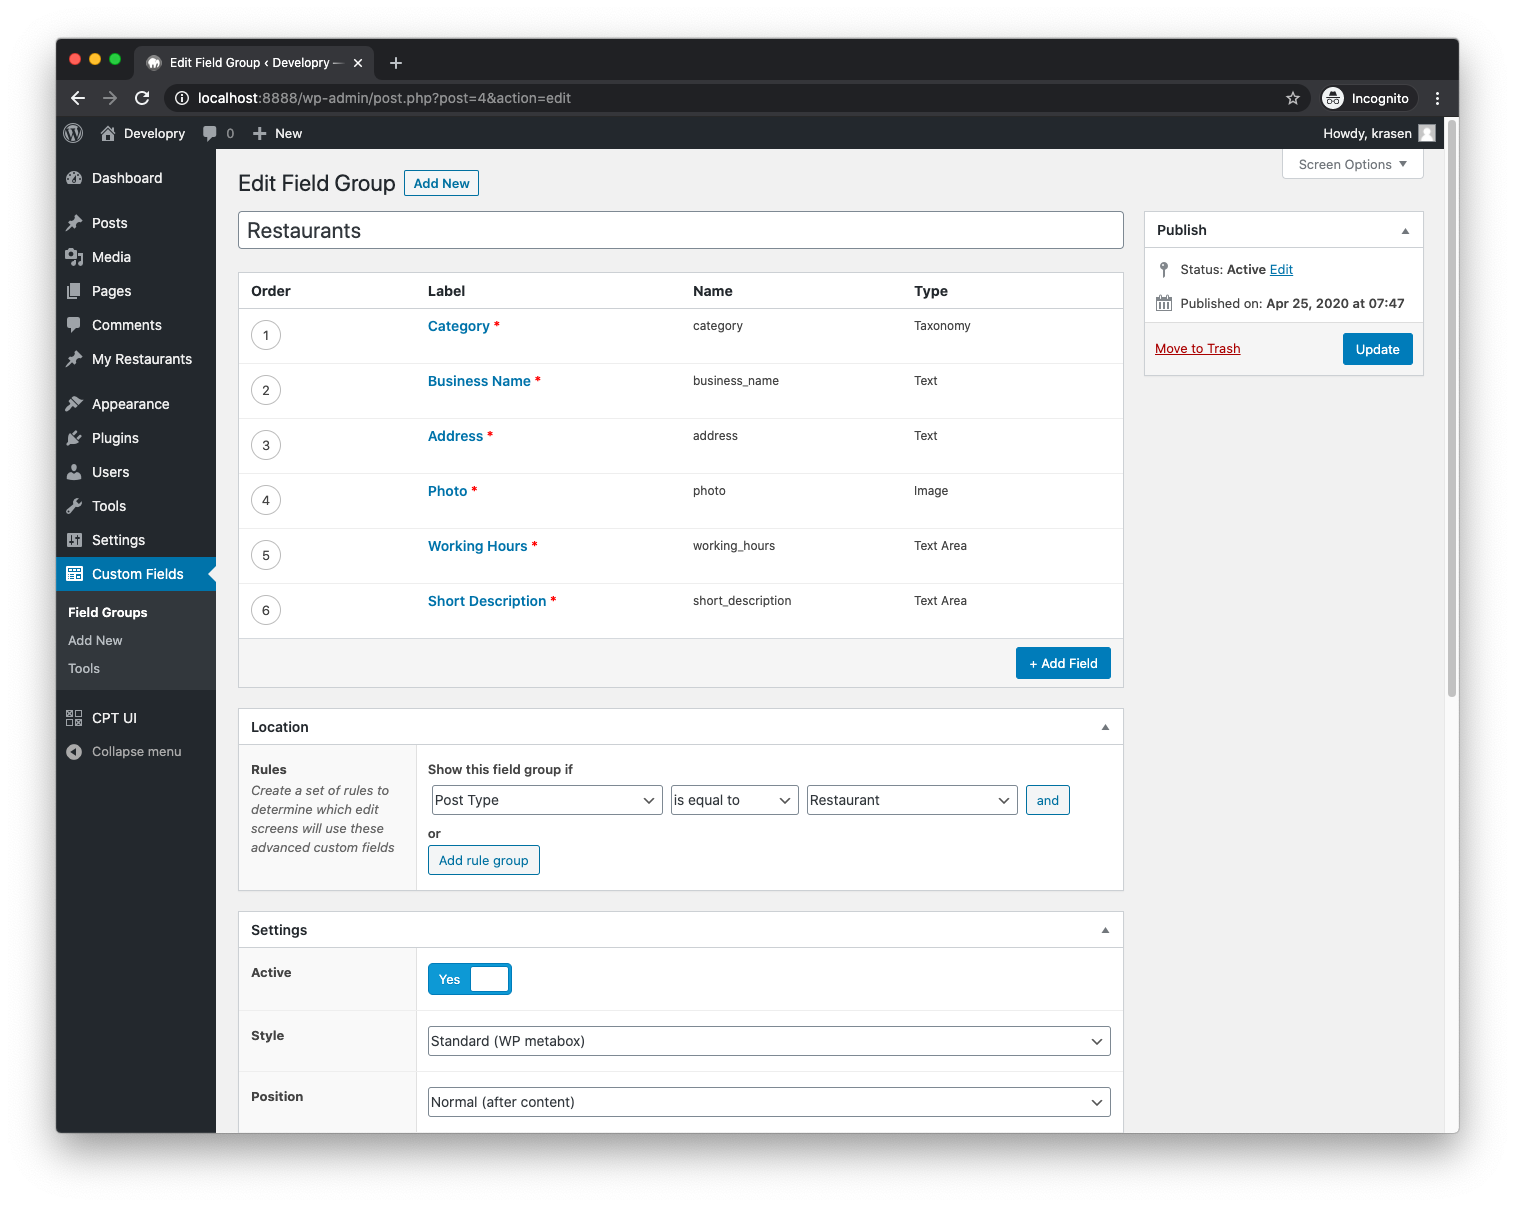
Next, in the last two screenshots (4-5), we create and set up an Advanced Custom Field group again called Restaurants with several fields.
I need to highlight the Category (with type taxonomy), which we use to create a link between the group and the CPT Cuisine categories.
Note: What’s the ID for your ACF group? We will need this when we create and set up the front-end form.
Hint: (click on the thumbnails to preview larger images)
The Back-end
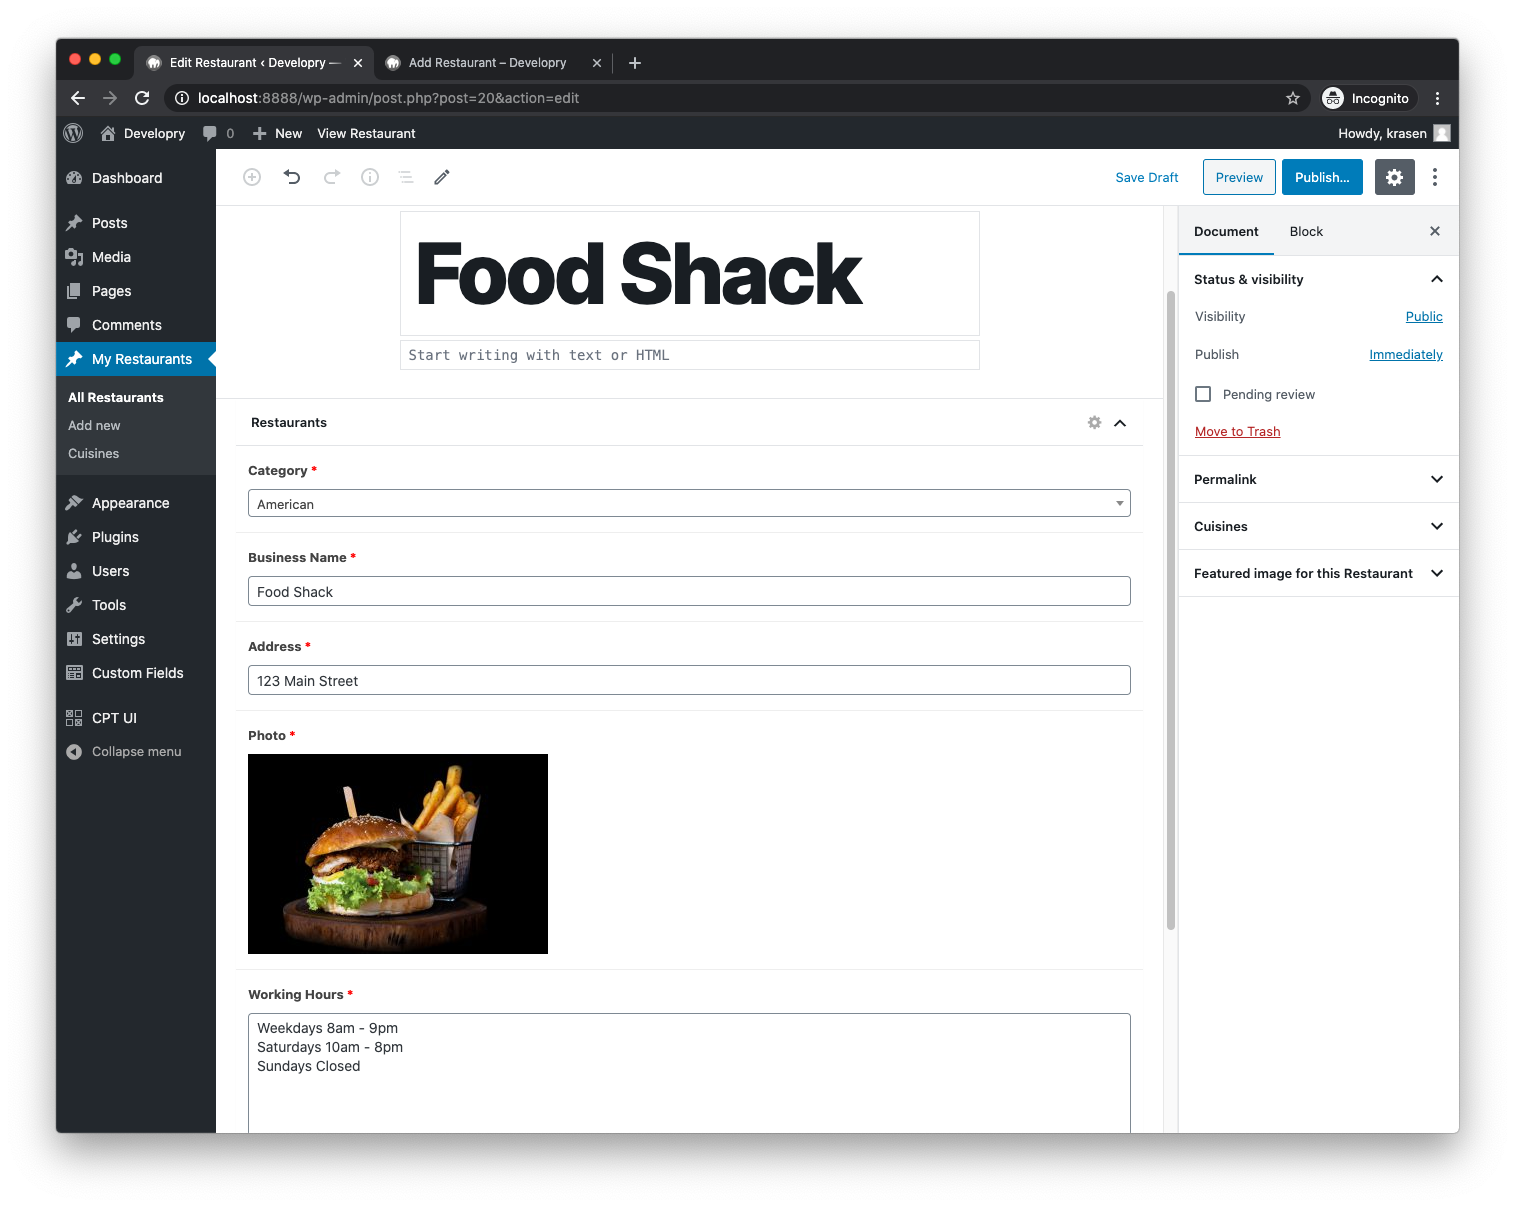
Once our setup is cleared, we are ready to add some data to our WordPress admin back-end area.
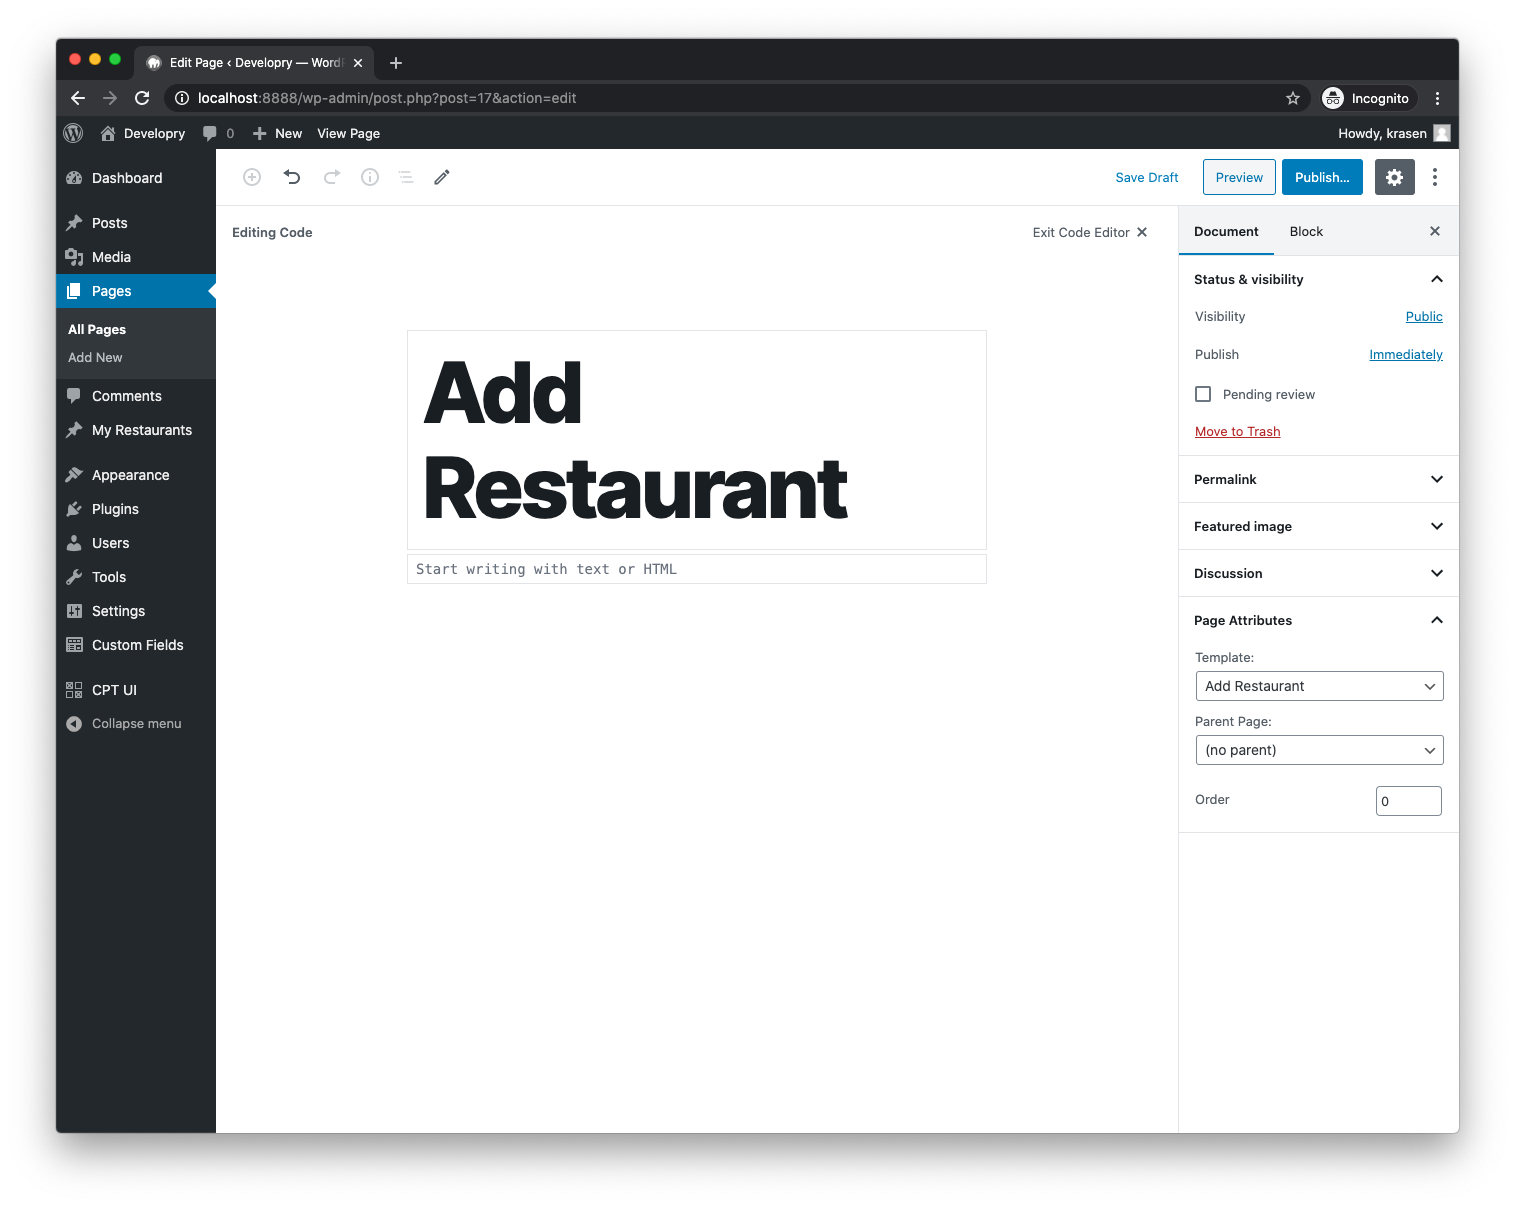
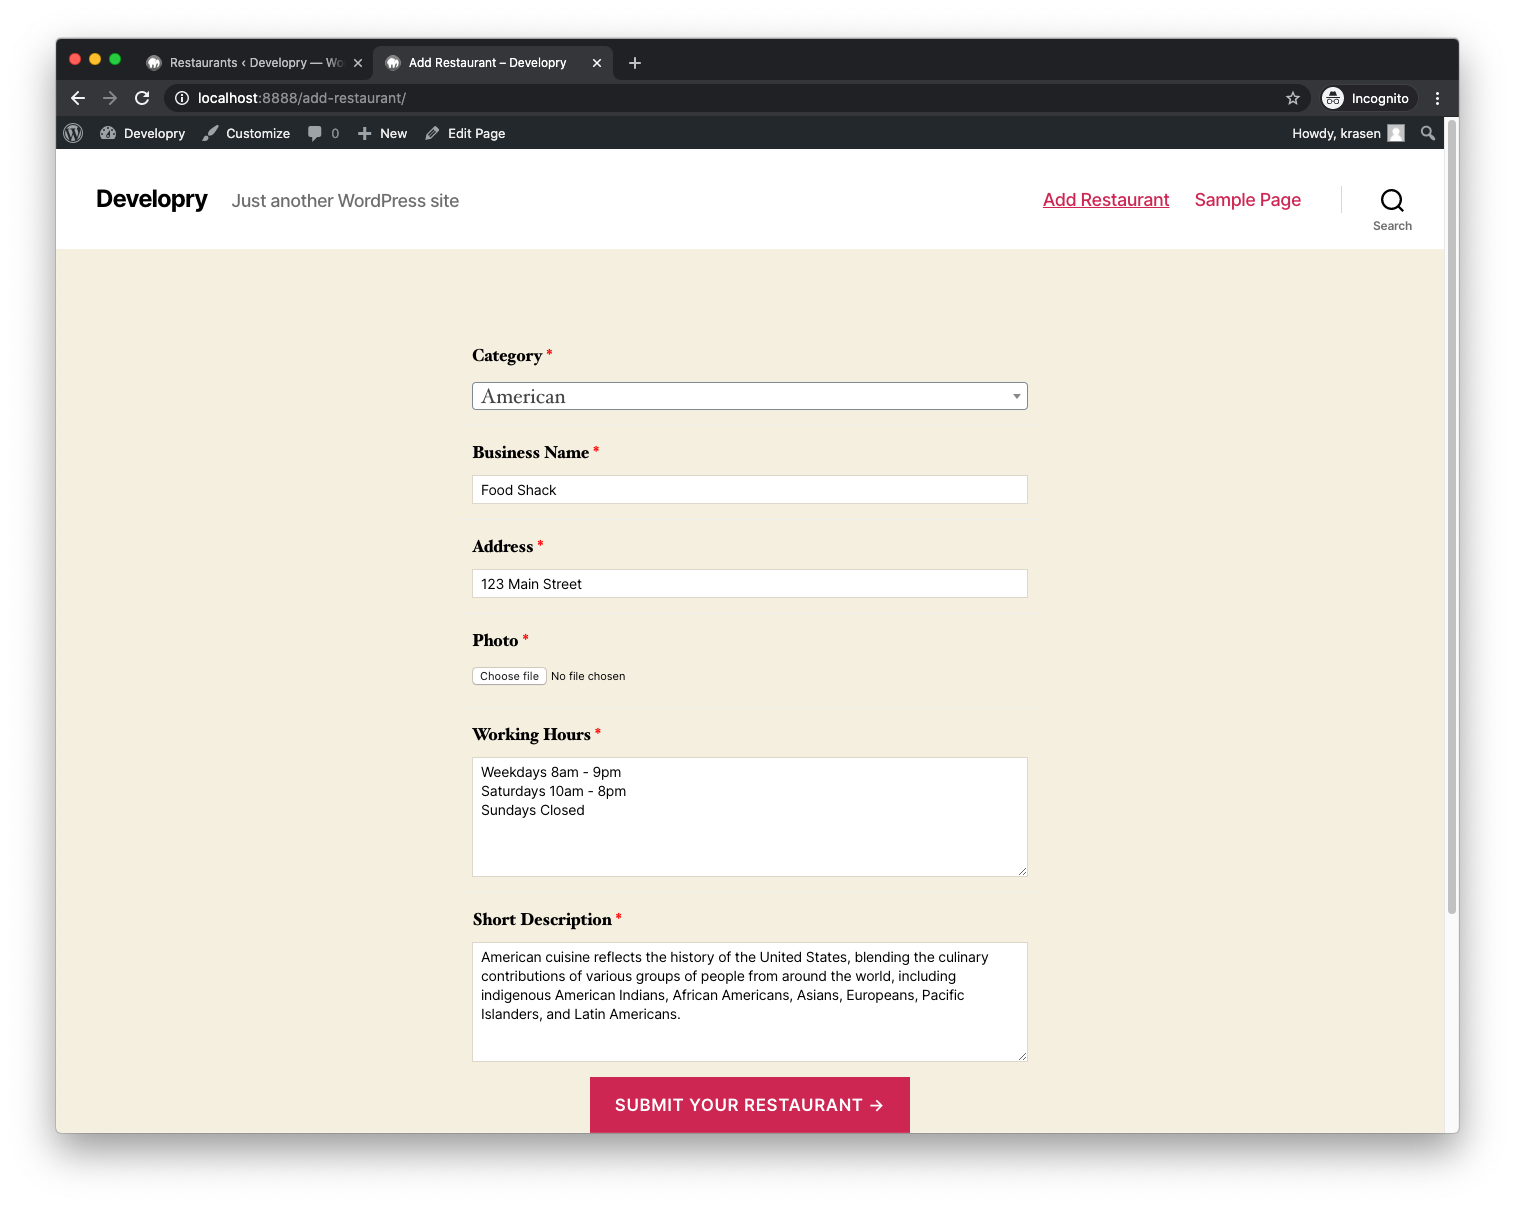
First, we need to create an Add Restaurants page and assign a template page with the code for our front-end form (see code below).
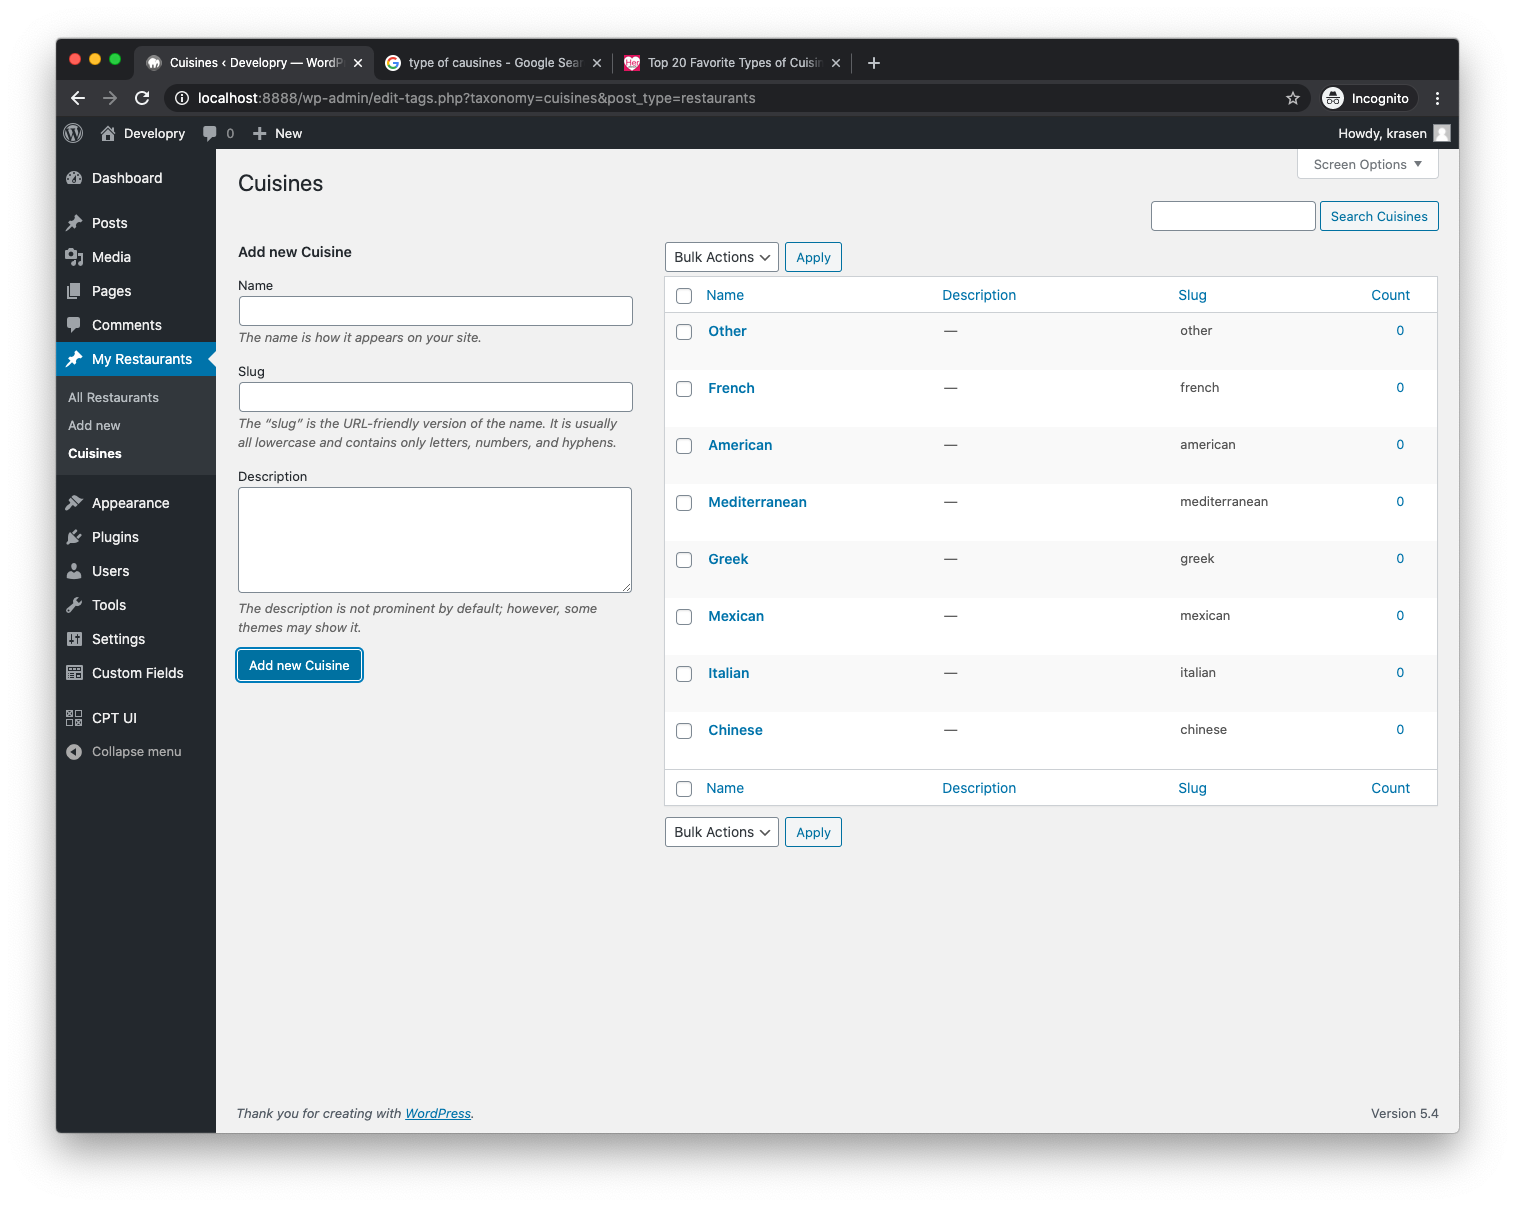
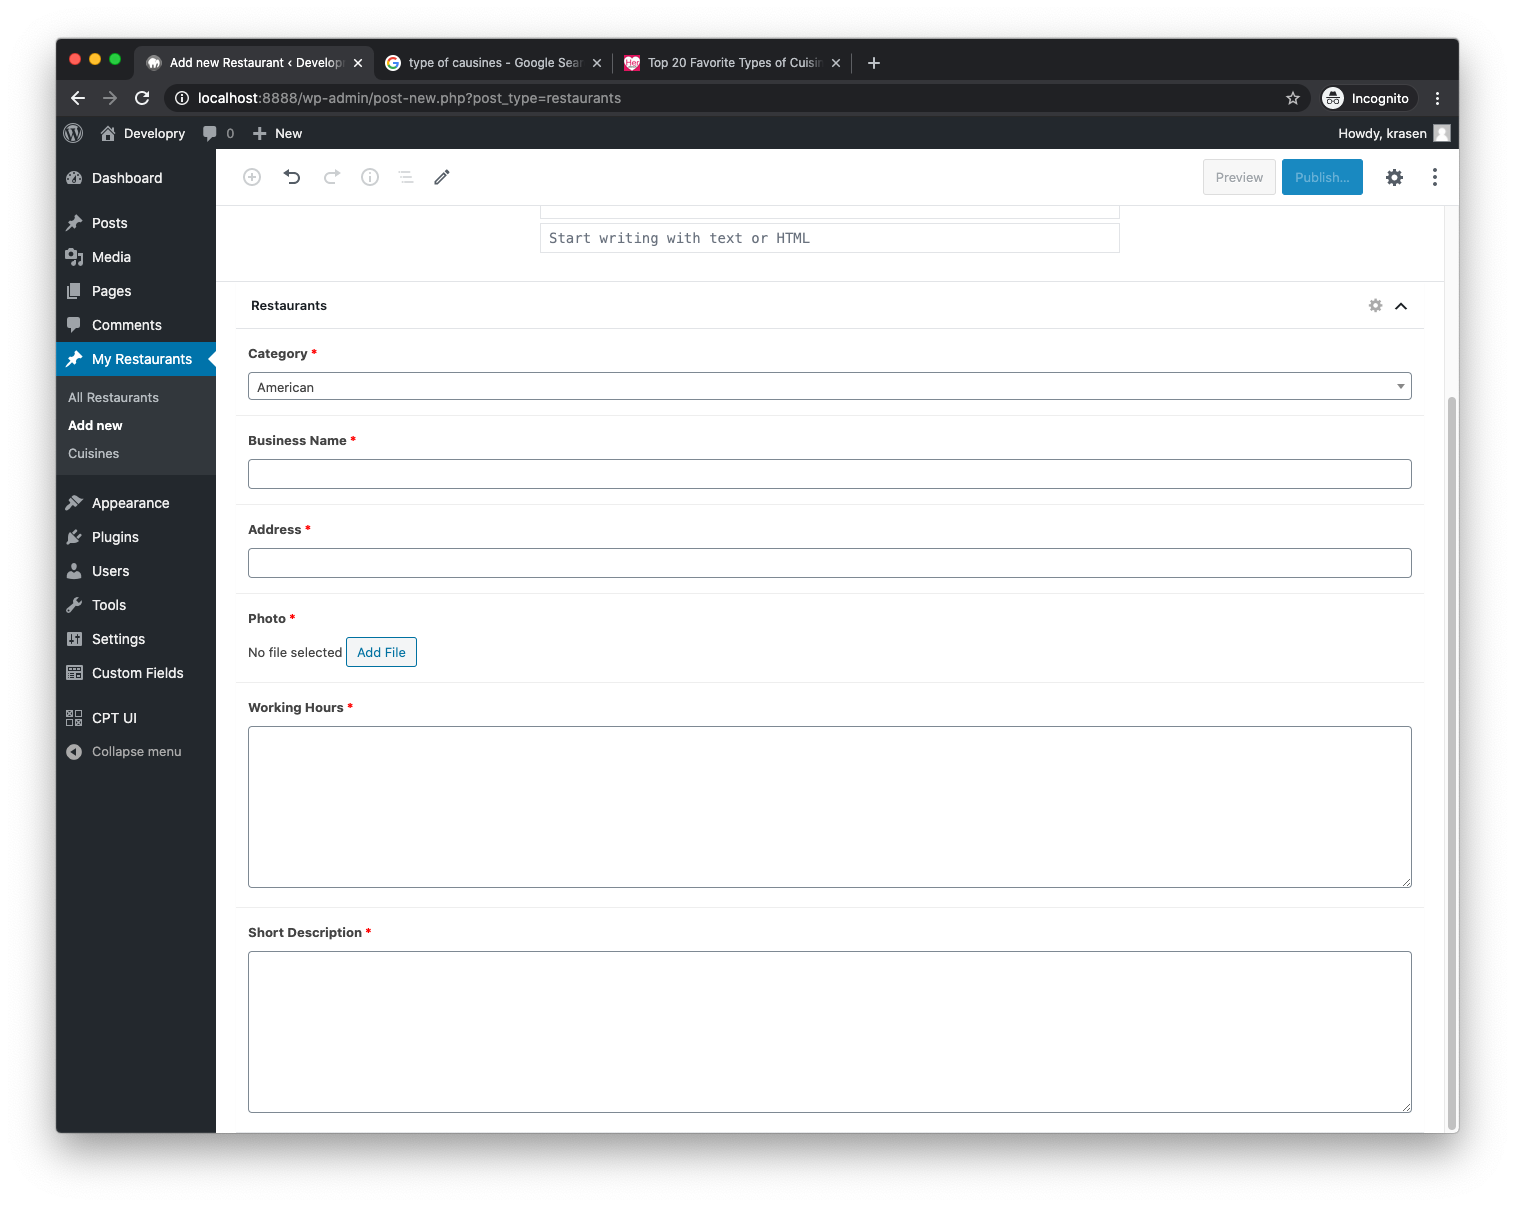
Next, screenshots 2 and 3 add some default Cuisine categories and preview the ACF group form in the backend.
Hint: (click on the thumbnails to preview larger images)
In our add-restaurant.php template, I need to highlight a couple of things.
- Be sure to add acf_form_head() before the get_header() and acf_enqueue_uploader() before the get_footer() functions.
- Inside the while loop, we insert the add_form() function to display our ACF group on the front-end. Add the ID of your ACF Group. In my case, it is 4.
- As you see, the post_status is set as a draft, this will not publish the entry automatically on submission, but an Editor/Administrator must approve it manually before it goes up live.
Note: As you can already see, I am using the default TwentyTwenty theme for this tutorial, but the same can be applied to any other custom or open-source theme.
In addition, if you add the following action with the acf/form_submit hook inside your theme functions.php, your custom Post title will be updated after the front-end form submission to the same name as the Business Name.
<?php
  add_action('acf/submit_form', function($form, $post_id) {
    wp_update_post(array(
      'ID' => $post_id,
      'post_title' => get_field('business_name', $post_id),
   ));
  }, 10, 2);
You could use the same approach to add additional data or link your CPT entry to another part of your WordPress setup.
For example, if you want to add a date or time added, or keep track of the IP address or location of the submitter.
The Front-end
Now, we have everything set up on the backend. The last thing we need to do is create a single page for our CPT/ACF restaurant entry and test and see if everything is working as it should.
You can read more about WordPress Template Hierarchy here, but to display a singular CPT entry, we need to name our file in the following format: {single-custom_post_type_slug.php}.
In our case, it would be single-restaurateurs.php.
Note: Put this file in your theme’s main folder.
Then we are ready to display our Restaurant content. Take a look at the get_field() function if you have any questions, or if the code above is unclear.
And we are all good. We have the setup and architecture, we have the front-end form to collect data, and last, we have a single page to display this content after revision by an Administrator/Editor.
Hint: (click on the thumbnails to preview larger images)

What’s Next?
These are pretty much all the basic steps you need to follow if you want to utilize the CPT UI and Advanced Custom Fields plugins.
Moreover, you may want to have another page with all the entries (either on the same page where the front-end form is or create a separate page) as a directory.
Also, adding pagination, taxonomy, search, or sorting filters would be another feature you might want to consider as a part of your directory page.
I hope that was useful and you could incorporate it in your next project.
‘Til the next one.
Resources
- Advanced Custom Fields (docs)
- CPT UI (docs)