


This tutorial will show you how to create a custom Gutenberg block by using the Advanced Custom Fields plugin.
There is only one requirement: to have at least ACF 5.8 PRO version installed. Also, if you are using the repeater and block fields as the example in this tutorial, you need the PRO version.
Note: This is a simplified solution that requires only PHP; no JavaScript or CSS will be needed to create and customize our Gutenberg block.
The Setup
Before we create our ACF group, we should look at the additional files and folders we have to create inside our theme folder. You may want to organize things differently, and that’s okay as long as you change the path for the render_template.
Inside venues.php, we will place our code, which will be used to display the block layout within Gutenberg and in the front-end template.
my-theme/
  template-parts/
    blocks/
      venues.php
  functions.php
  ...
But before I show you the venues.php code, we need to add the code below inside our theme’s functions.php. This will check if the ACF version supports the acf_register_block_type() and then register our block, bypassing some arguments.
// ACF 5.8+ PRO with Gutenberg
if (function_exists('acf_register_block_type')) {
  add_action('acf/init', function() {
    acf_register_block_type(
      array(
        'name' => 'venues',
        'title' => ('Tour Venues'),
        'description' => __('Manage tour venues...'),
        'render_template' => 'template-parts/blocks/venues.php',
        'icon' => 'editor-table',
        'keywords' => array('tour', 'venues'),
      )
    );
  }, 10, 1);
}
Note: The name value should be the same as the Repeater slug, and the render_template value should be the path to our block template file.
Advanced Custom Field Group
Once we create the structure and add the ACF init action hook in our functions.php, we are ready to create and set up our Advanced Custom Field group.
I want to highlight a couple of things, but if you have worked with ACF before, you will notice them right away.
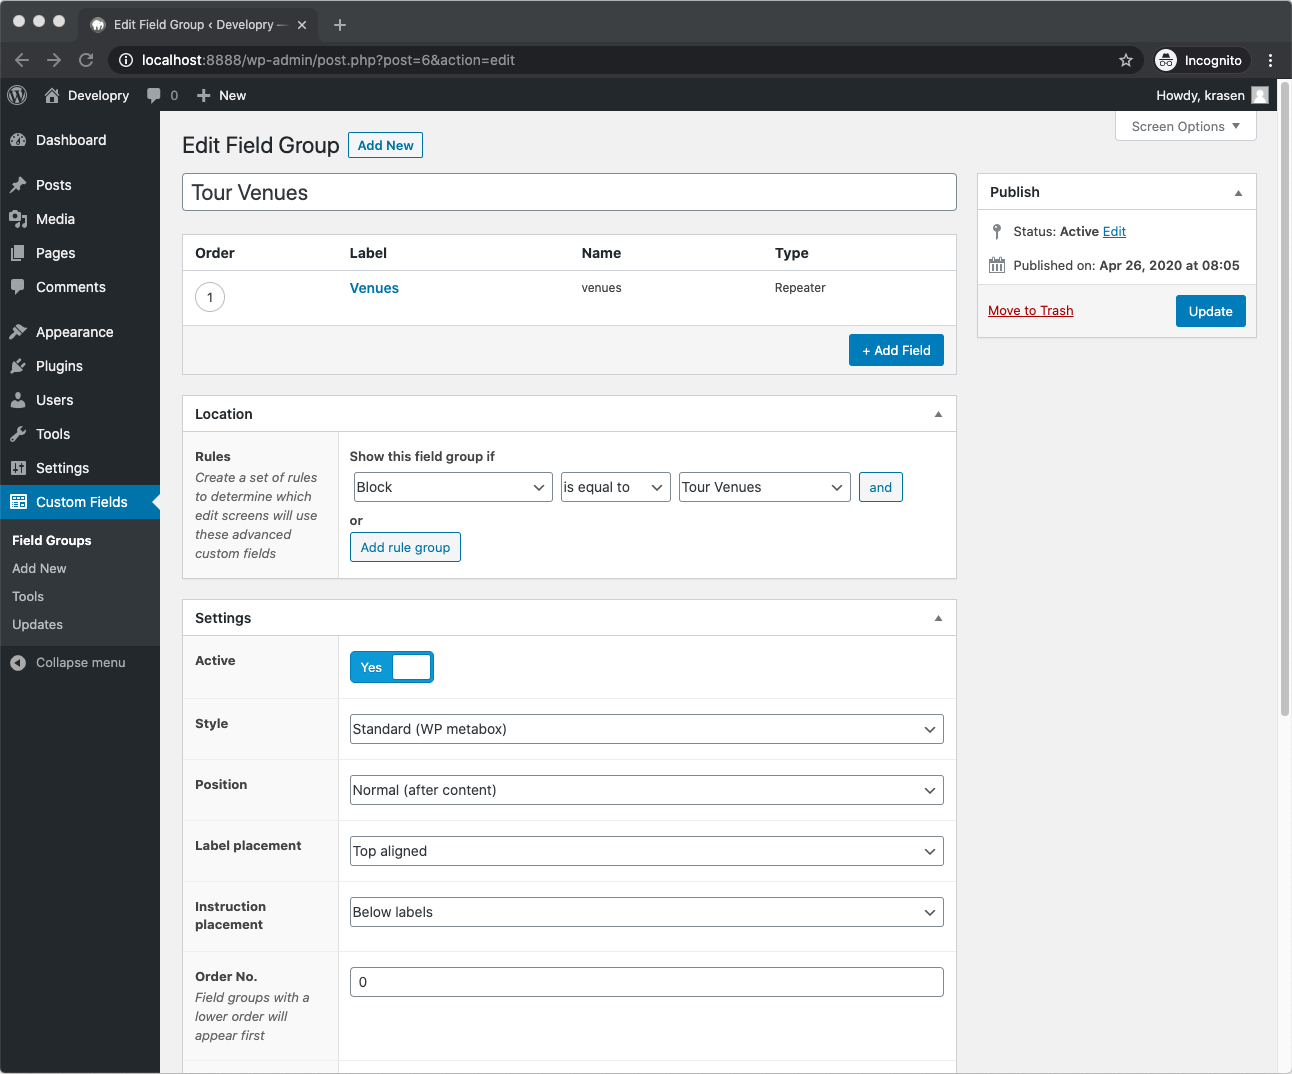
- Make sure that you have Location > Show this field as Block and select the custom ACF register Block title. (In our case, Tour Venues)
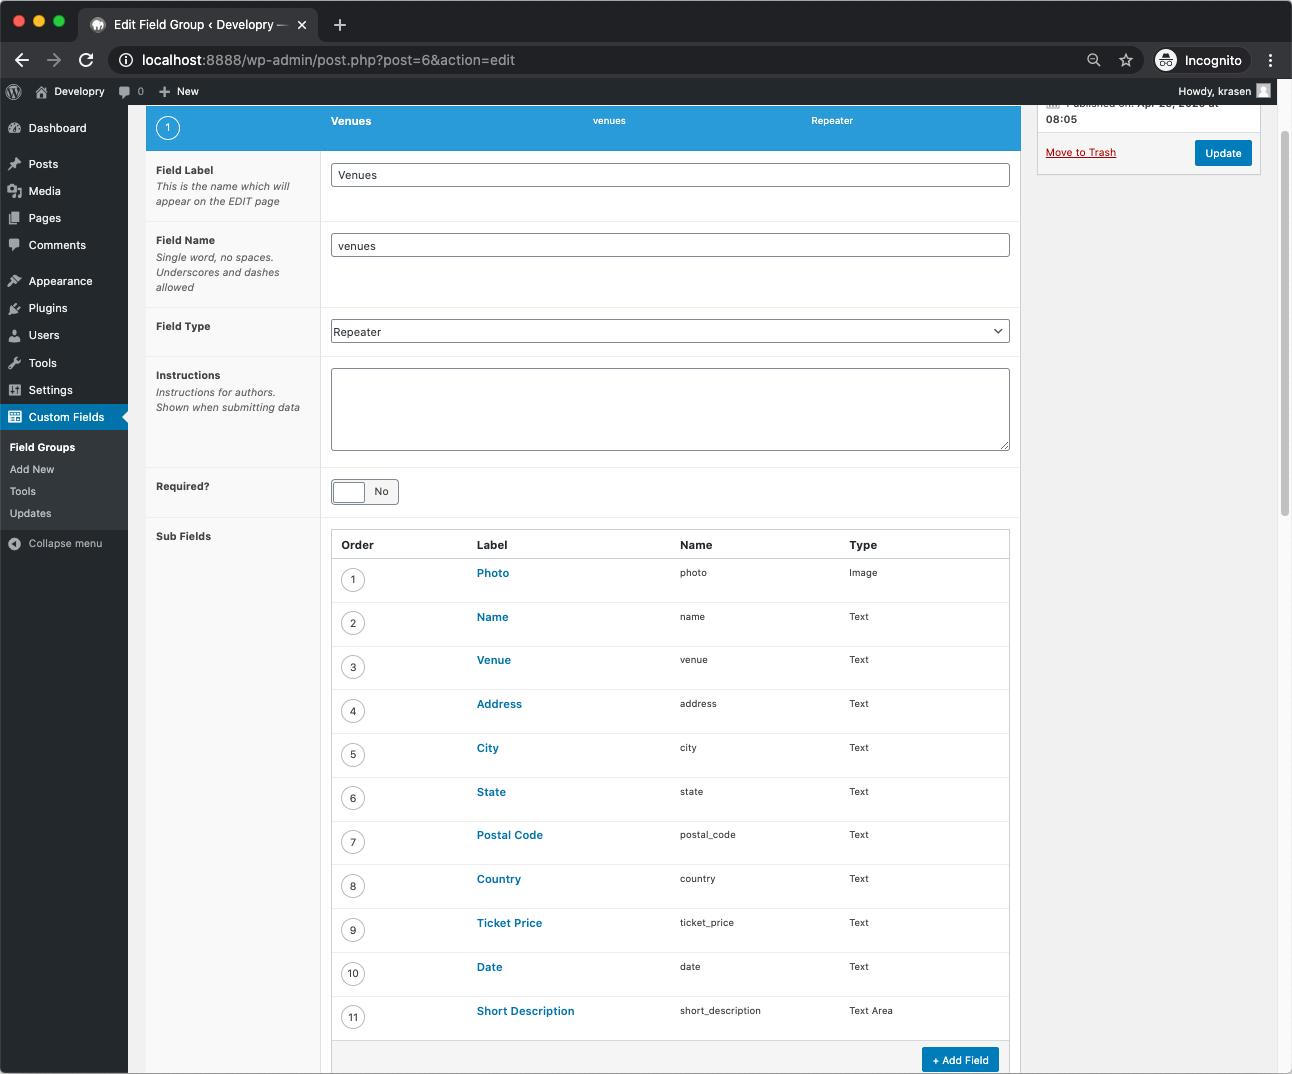
- I pointed this out above, but make sure that the Repeater slug is the same as the ACF register block name value.
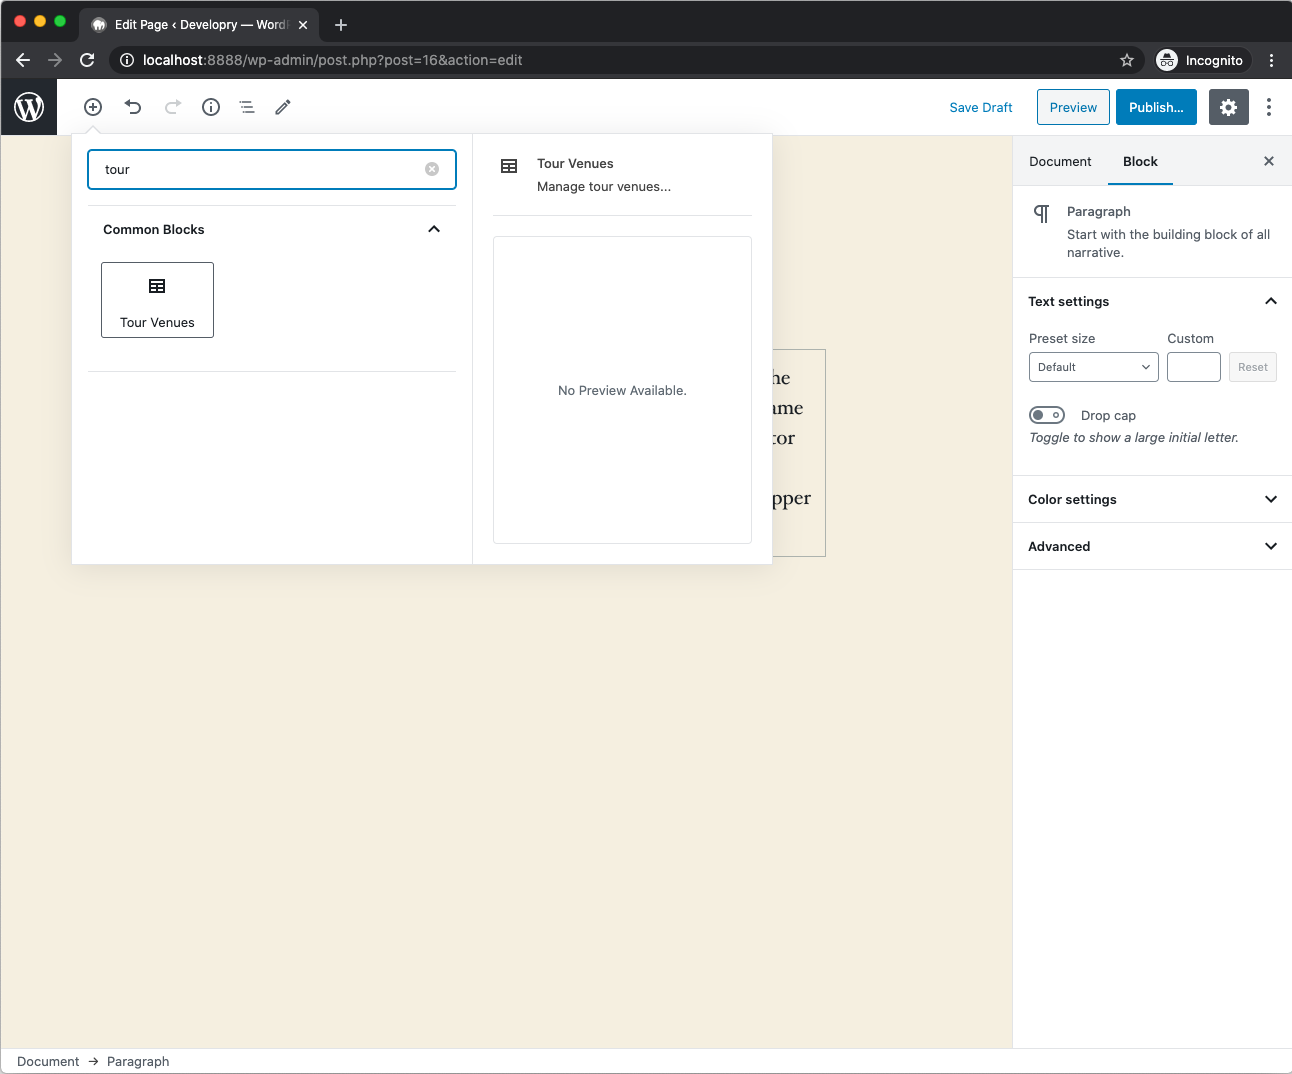
The Gutenberg Block
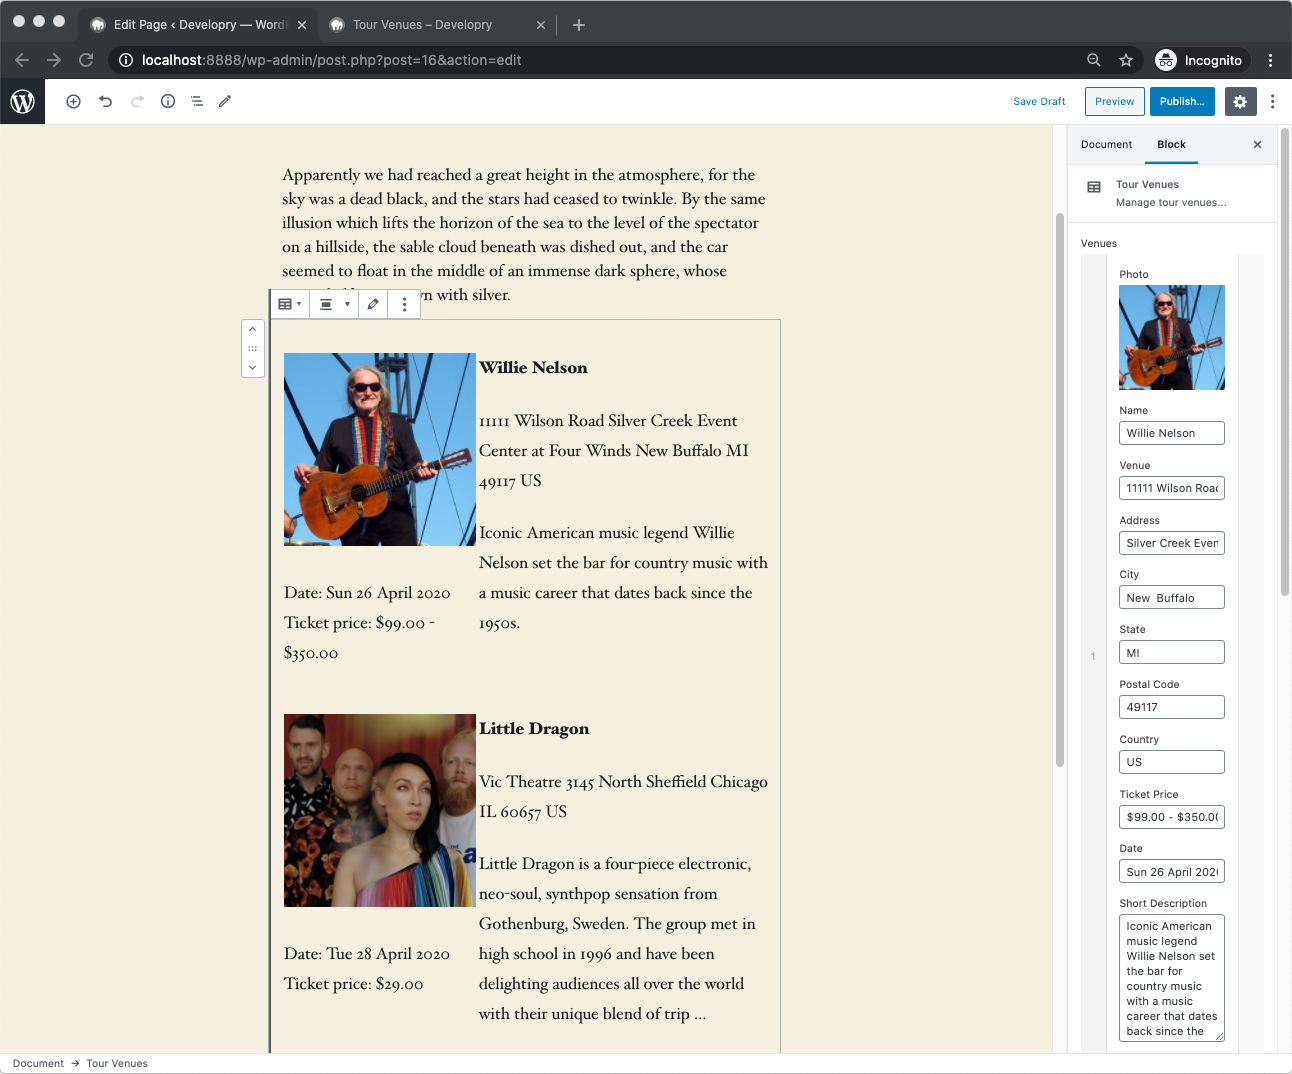
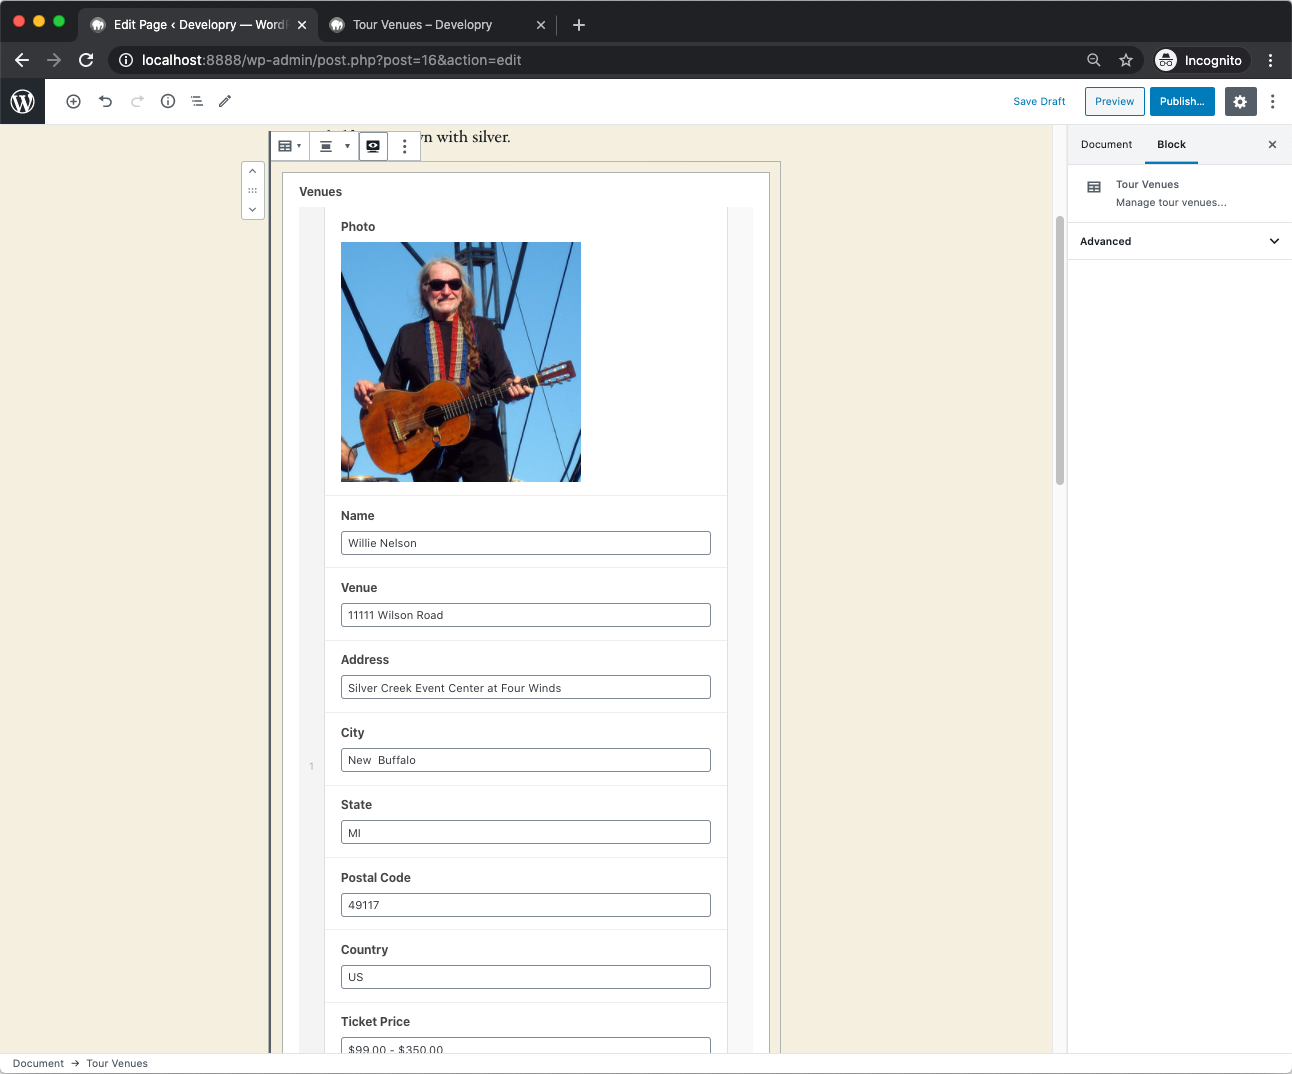
Now we may view and add our Gutenberg block within the editor.
We are also ready to customize its layout and styling (see the venues.php template below).
If you have worked with Advanced Custom Fields and have a bit of experience on your hands, you wouldn’t have any issues with the code. However, if anything is unclear, please check the documentation or ask your questions in the comments below.
The PHP code at the top of the template is used to utilize the Advanced tab CSS classes available and can be applied to any block within Gutenberg.
Note: I don’t want to overwhelm the reader, so I am using the TwentyTwenty theme stylesheets, but you can easily apply your own styles and load them inside the Gutenberg editor enqueue_block_editor_assets() hook.
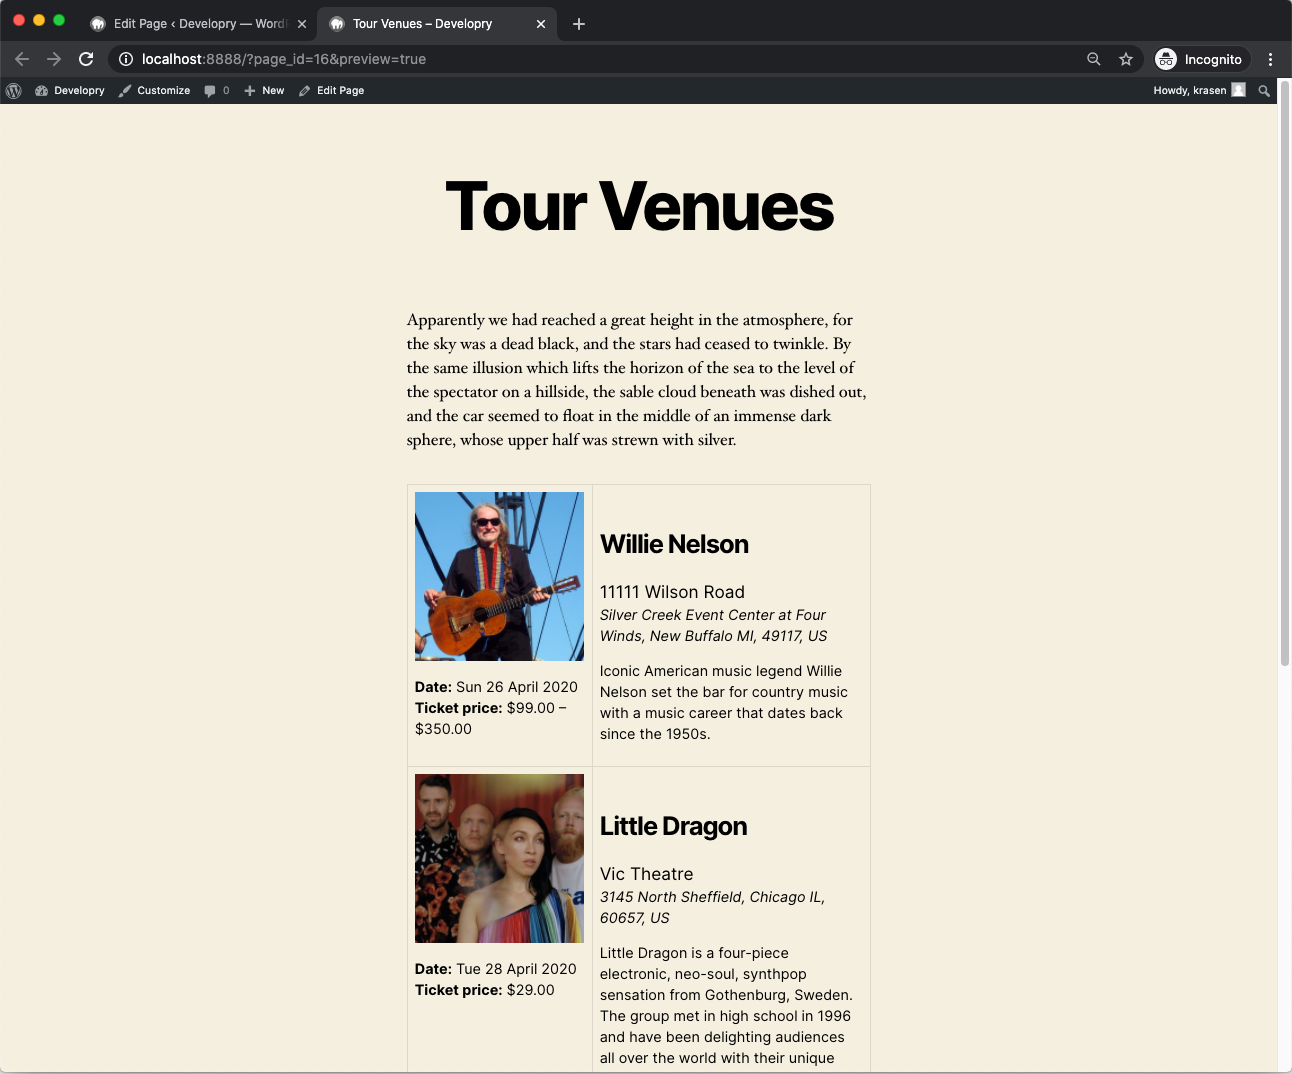
You should have a functioning Gutenberg block that is built on top of Advanced Custom Fields.
You can view the different sections to add, edit, or preview your Gutenberg block in the four screenshots below.
What’s Next?
That’s a basic example you can build upon or create your own custom solution, and it is a simple and elegant way to create Gutenberg blocks quickly.
However, if you want to use the full power and capabilities of the editor, you still need to go back to JavaScript and use the WP core way of building and extending blocks.
To additionally improve your Gutenberg skills, I would recommend you start from the Block Editor Handbook and then move on to and take a look at some of the paid courses available at Udemy.
‘Til the next one.